If you’re a fan of crisp, fresh salads or growing your own leafy greens, oakleaf lettuce deserves a spot in your garden. With its distinctive oak-shaped leaves, vibrant colors, and delicate texture, this lettuce variety is as visually appealing as it is flavorful. Perfect for both seasoned gardeners and beginner growers, oakleaf lettuce brings a touch of elegance and nutrition to American kitchens.
Unlike traditional lettuce varieties, oakleaf lettuce is low-maintenance, adaptable, and full of nutrients, making it ideal for home gardens, container growing, or even urban farming. In this article, we’ll dive into everything you need to know—from planting and care to delicious ways to enjoy it—while highlighting why it’s becoming a favorite among American home cooks and gardeners.
1. What Is Oakleaf Lettuce?
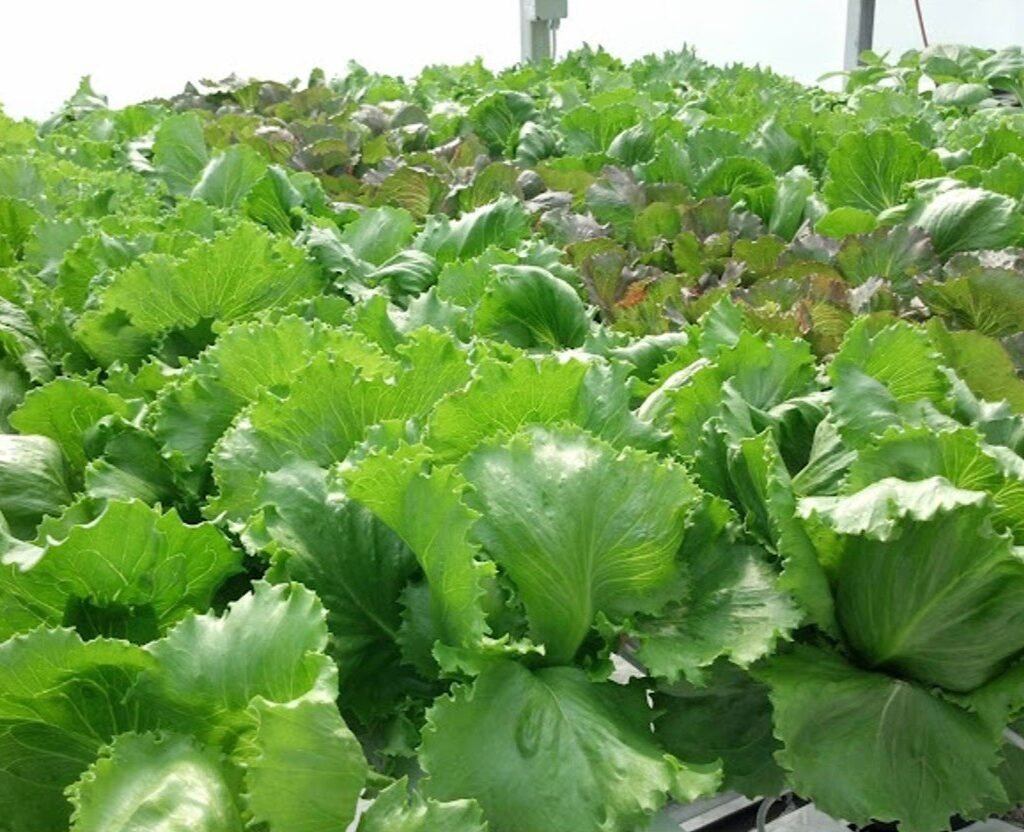
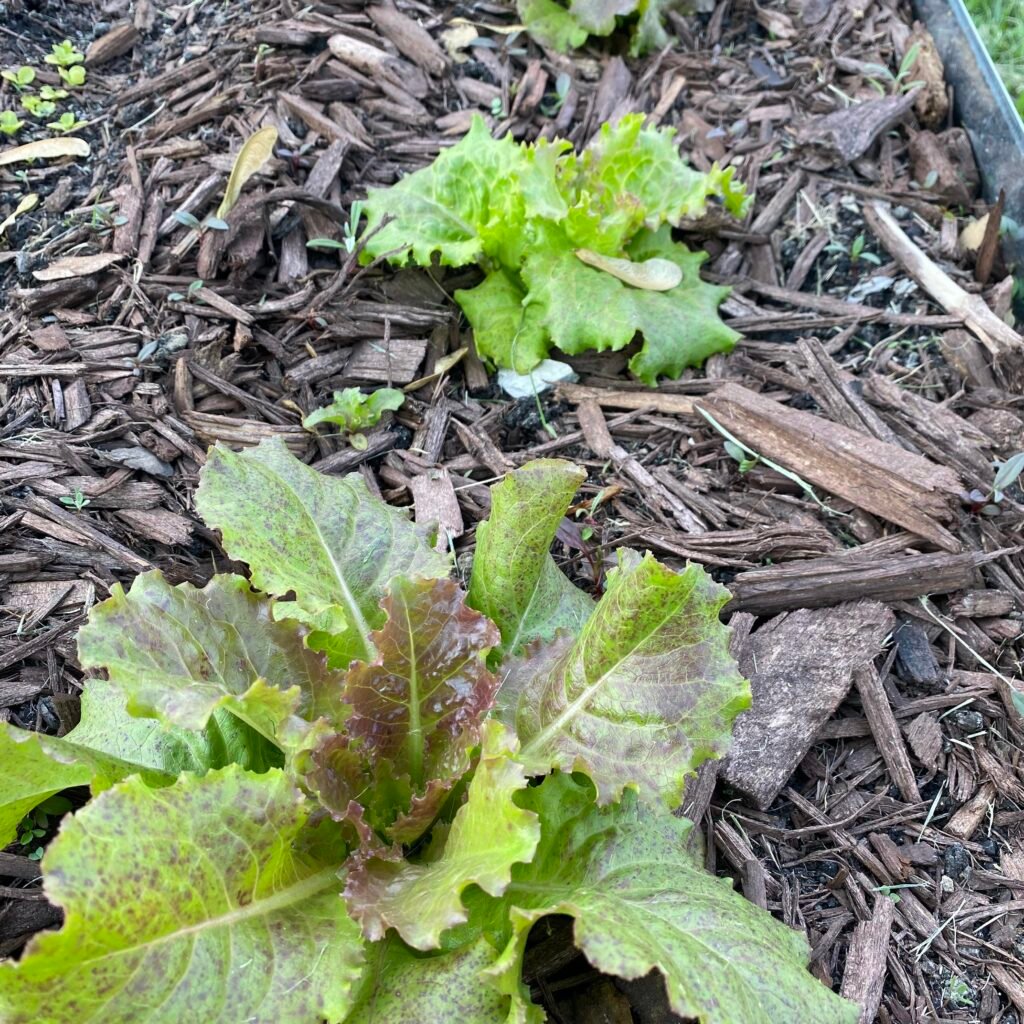
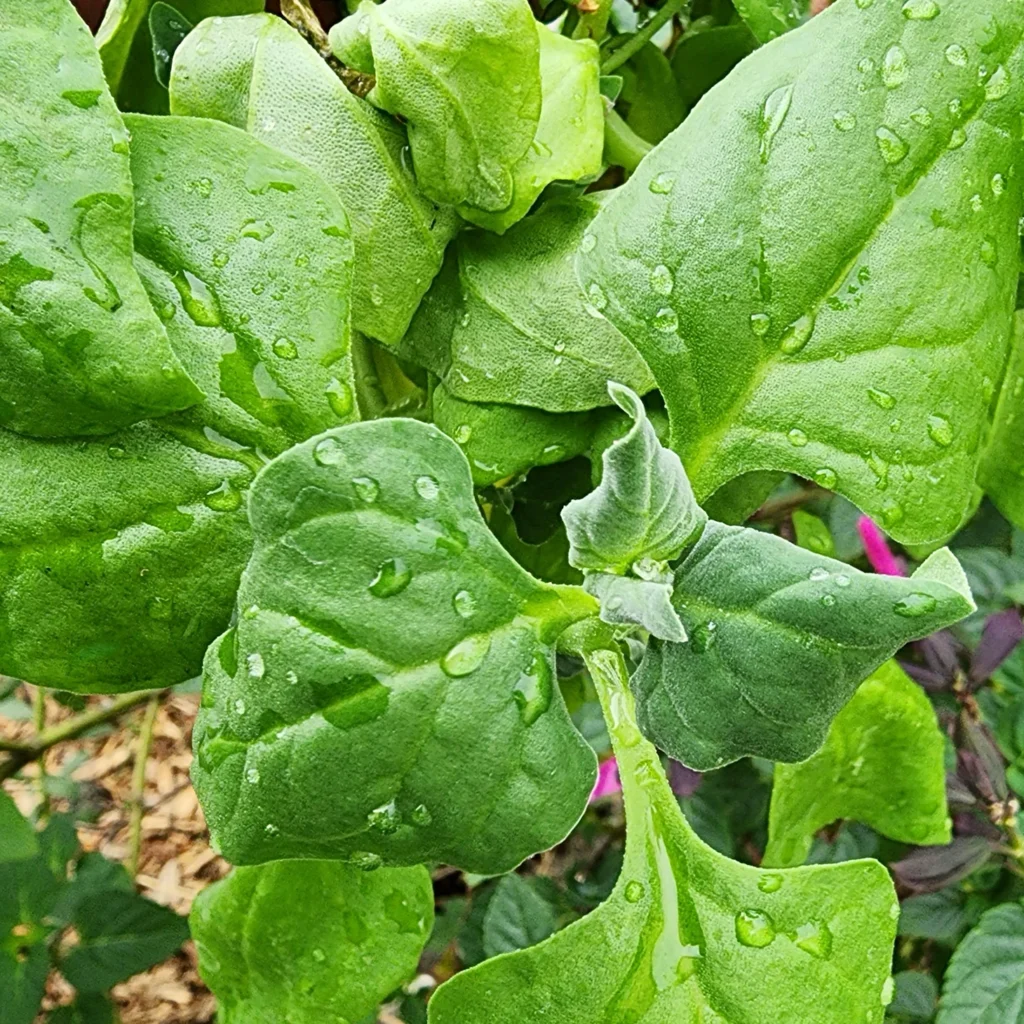
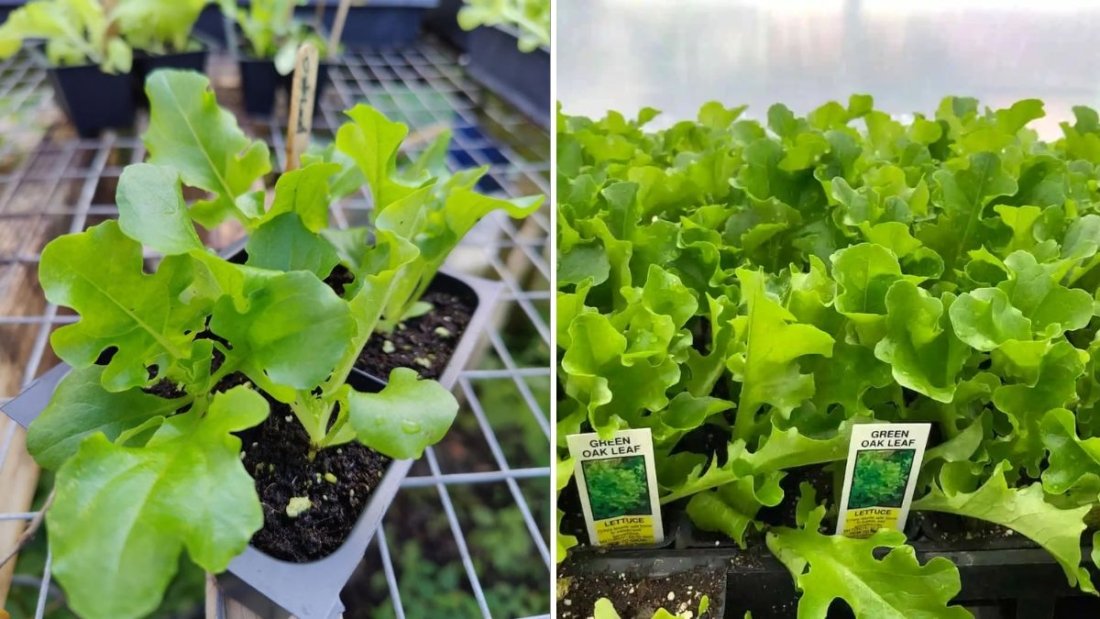
Oakleaf lettuce, sometimes referred to as Lactuca sativa var. crispa, gets its name from the unique shape of its leaves, which resemble the lobed foliage of an oak tree. Available in green, red, or bronze shades, it adds color and texture to salads, sandwiches, and garnishes.
Botanical overview:
- Scientific name: Lactuca sativa var. crispa
- Type: Loose-leaf lettuce
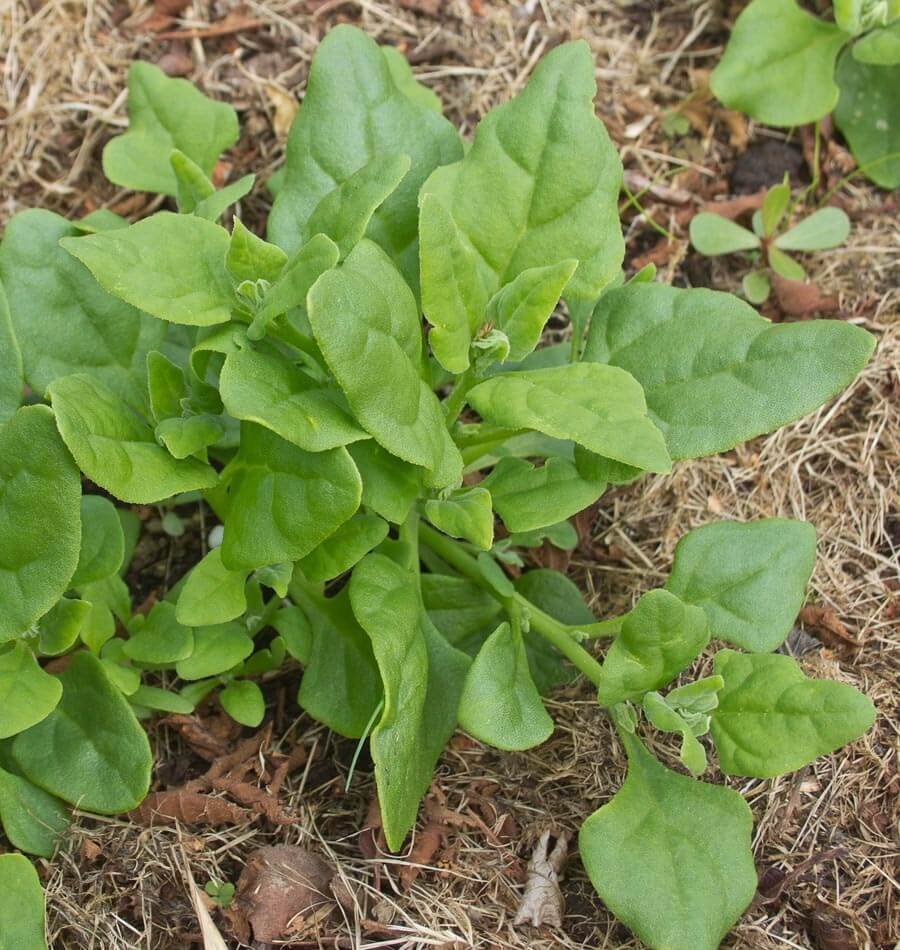
- Growth habit: Compact, rosette-forming leaves
- Texture: Tender, slightly ruffled leaves
- Flavor: Mild, slightly sweet, and buttery
- USDA Zones: Thrives in zones 4–9
Oakleaf lettuce is versatile and decorative, often used in gourmet dishes, but it’s equally perfect for everyday American meals.
2. Nutrition: A Powerhouse Green
Despite its delicate appearance, oakleaf lettuce packs a nutritional punch. It’s low in calories but rich in essential vitamins, minerals, and antioxidants.
Nutritional highlights (per 100g):
- Calories: 13–15
- Water content: 95–96%
- Vitamin A: Supports healthy vision and skin
- Vitamin K: Promotes bone strength and heart health
- Vitamin C: Boosts immunity
- Folate: Aids in cell growth and repair
- Potassium: Maintains fluid balance and supports heart function
- Fiber: Helps with digestion and satiety
Oakleaf lettuce is hydrating, low-calorie, and ideal for weight management, making it a great addition to American diets focused on health and wellness.
3. Why Oakleaf Lettuce Is Gaining Popularity in the U.S.
American gardeners and chefs are embracing oakleaf lettuce for several reasons:
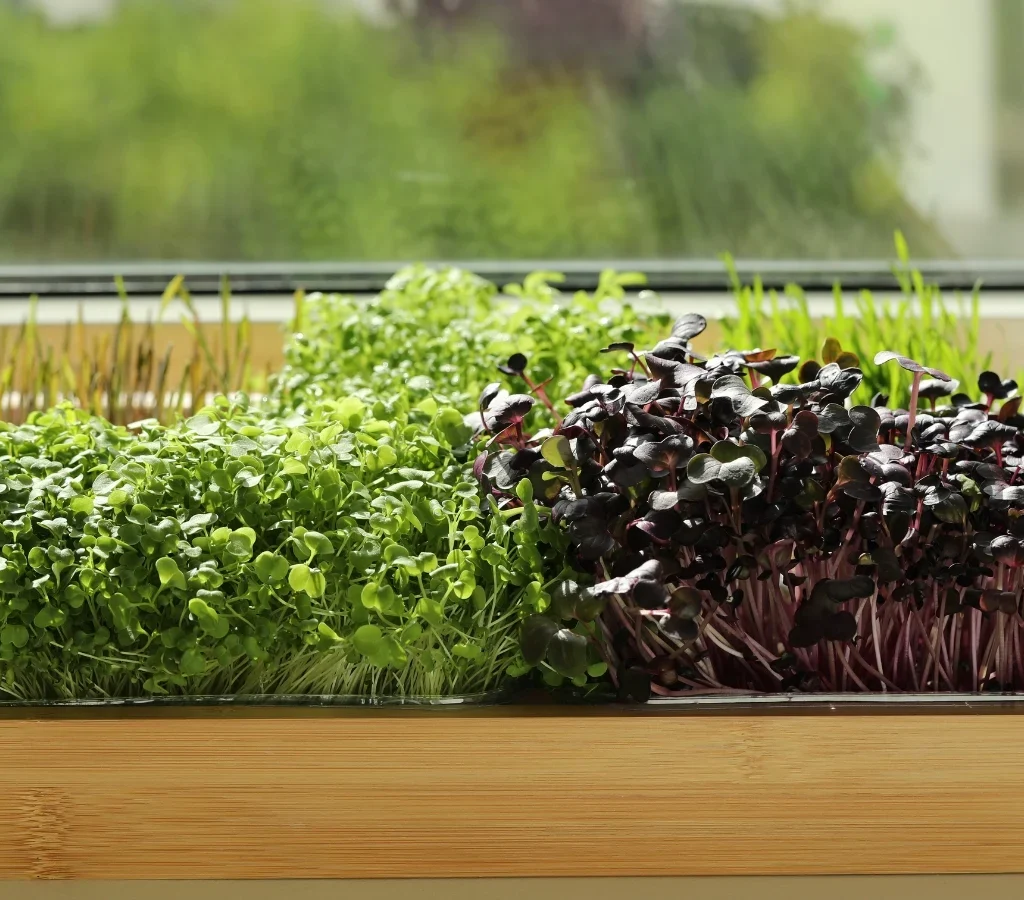
- Vibrant colors: Adds a pop of red, green, or bronze to salads and garnishes.
- Tender texture: Softer than romaine but heartier than butterhead.
- Versatility: Perfect for salads, sandwiches, wraps, and even smoothies.
- Fast-growing: Matures in 45–60 days, ideal for multiple harvests.
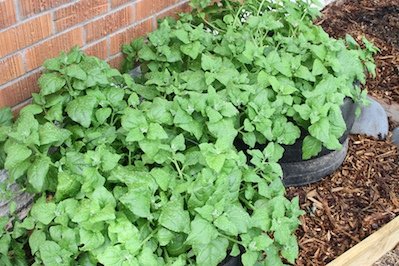
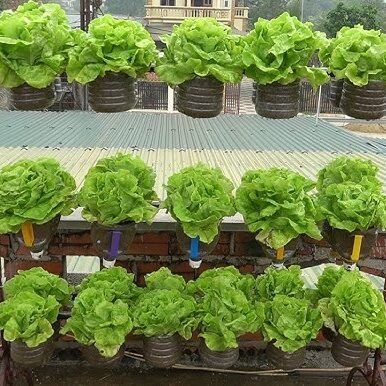
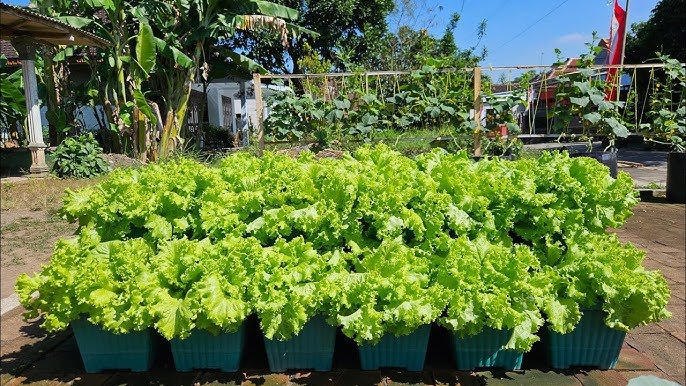
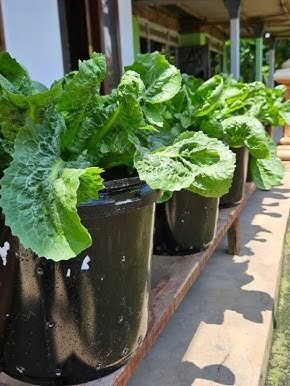
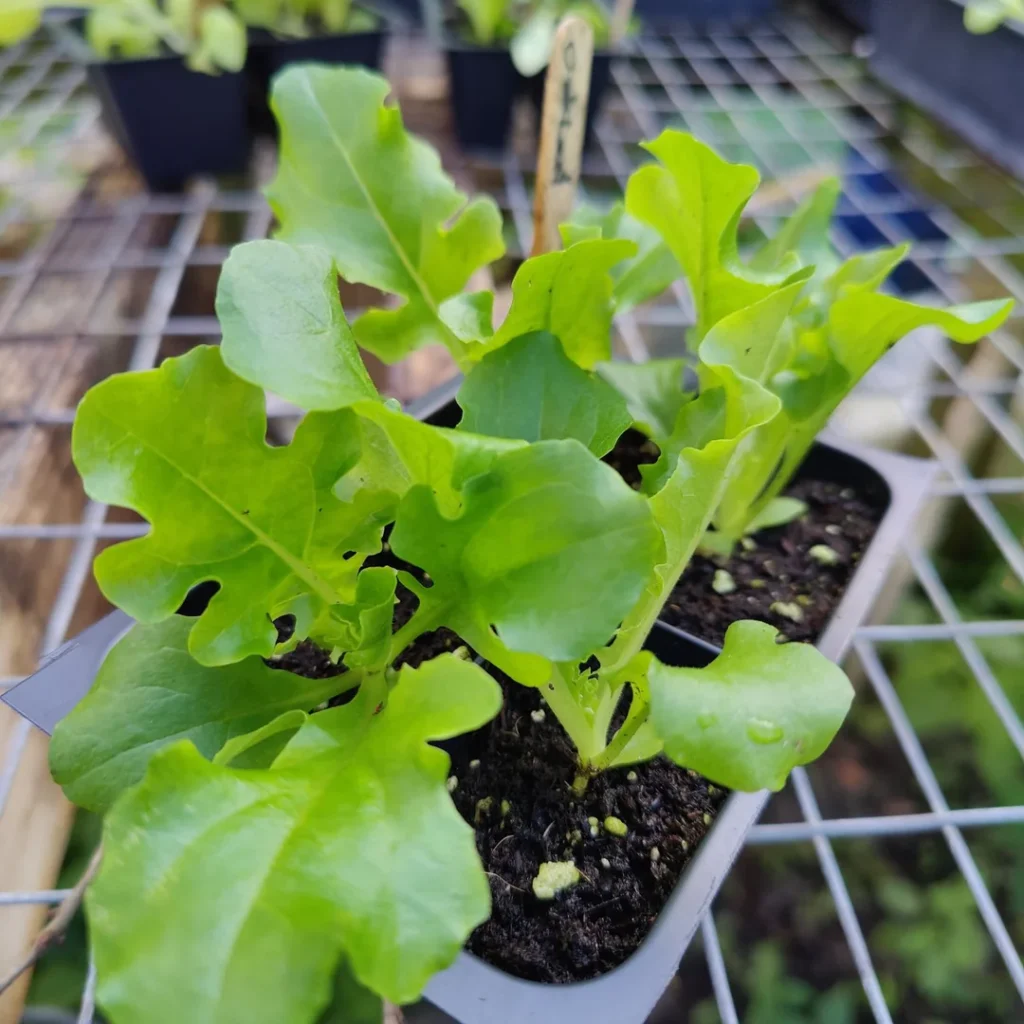
- Compact growth: Works well in raised beds, containers, or small gardens.
- Heat tolerance: Certain varieties can withstand warmer conditions better than traditional leaf lettuces.
Its visual appeal and mild flavor make it a chef favorite and a practical choice for home gardeners who want quick, colorful results.
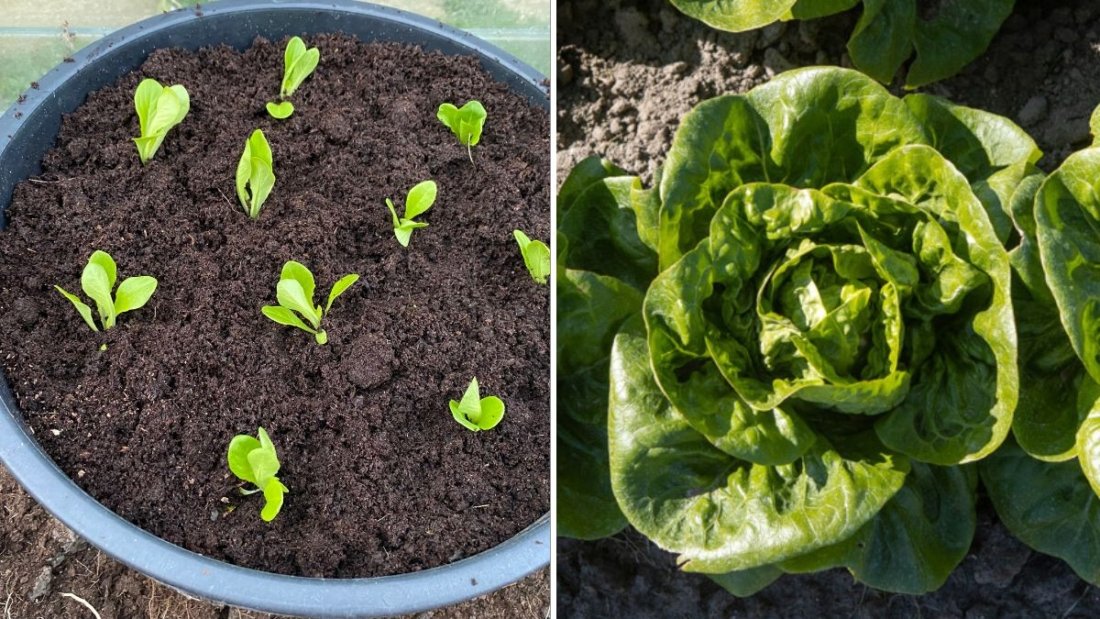
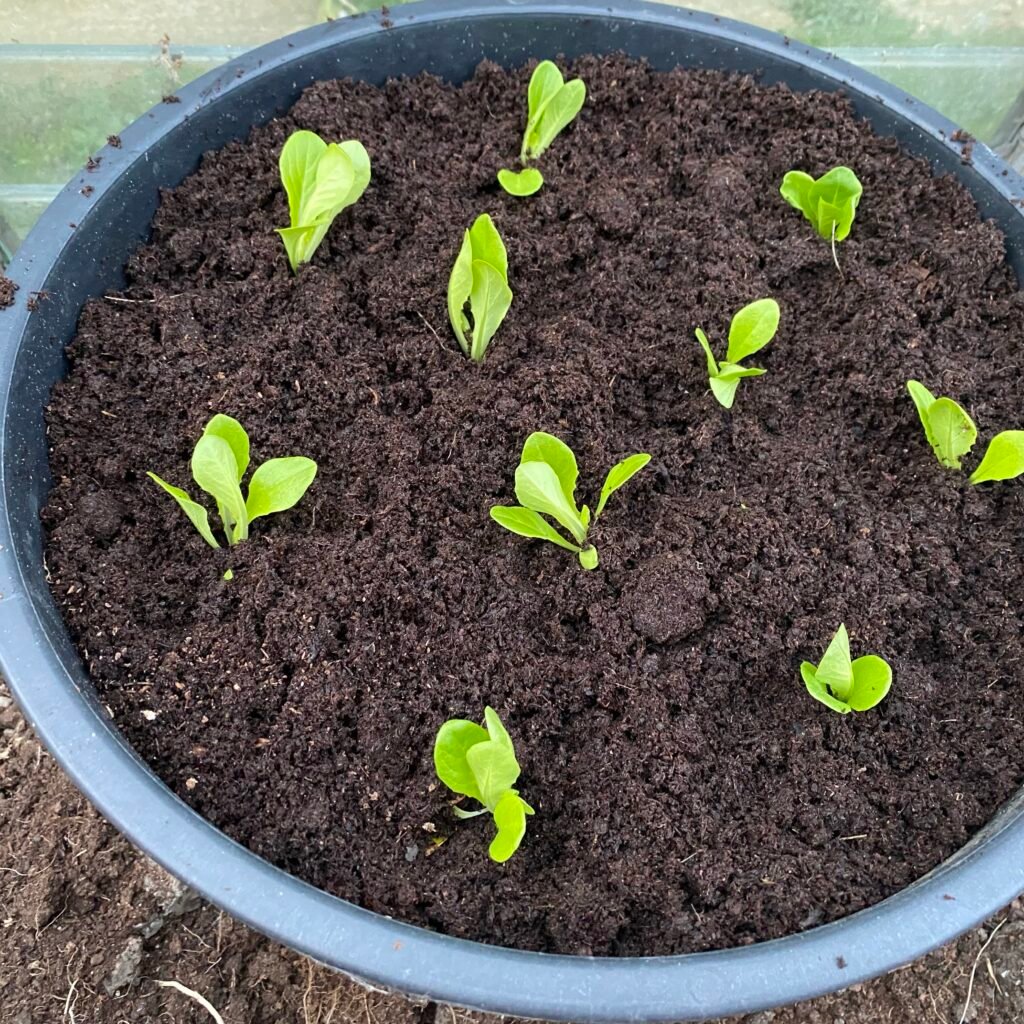
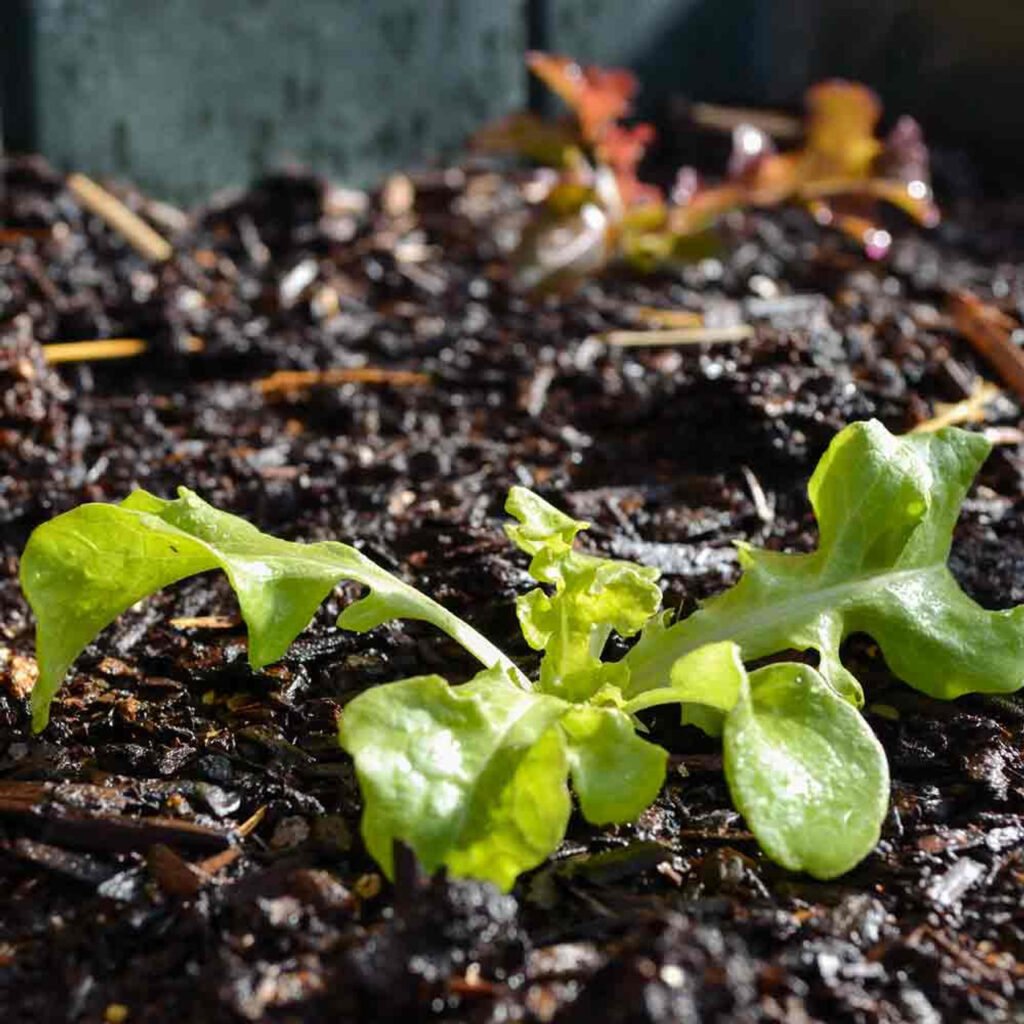
4. How to Grow Oakleaf Lettuce in the U.S.
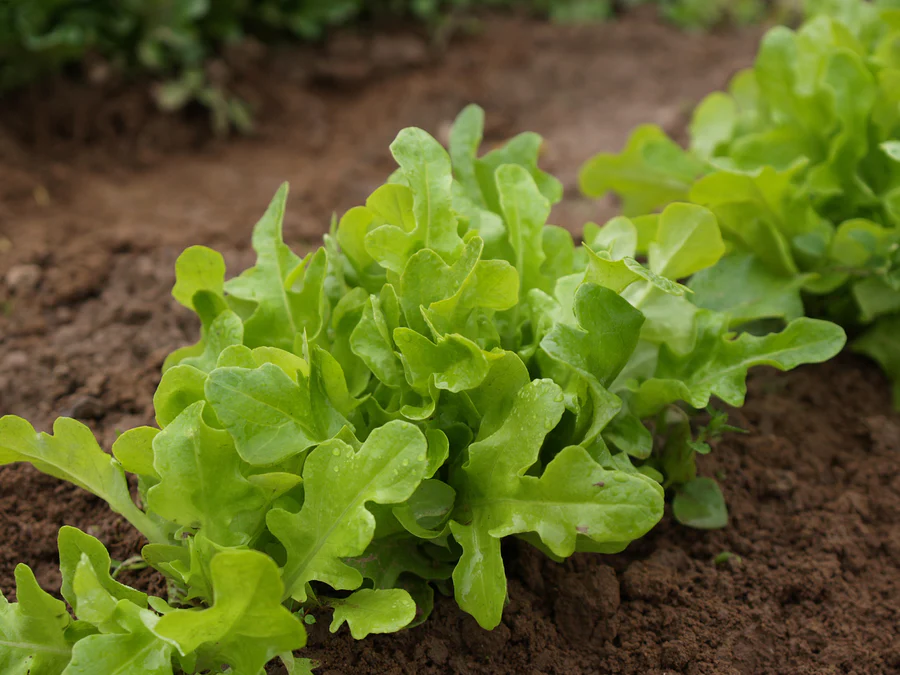
Oakleaf lettuce is beginner-friendly, forgiving, and thrives in cool to moderate climates. Here’s how to grow it successfully in American gardens:
a. When to Plant
- Spring: Sow seeds 2–4 weeks before the last frost.
- Fall: Plant 6–8 weeks before the first frost for a late-season harvest.
It grows best at temperatures between 60°F and 70°F. In warmer states like Texas or Florida, it’s best grown in partial shade or during cooler months.
b. Soil and Sunlight Requirements
- Soil: Loose, well-draining, rich in organic matter
- pH: Slightly acidic to neutral (6.0–7.0)
- Sunlight: Full sun for cooler climates, partial shade in hot regions
Adding compost or organic fertilizer boosts growth and ensures vibrant leaves.
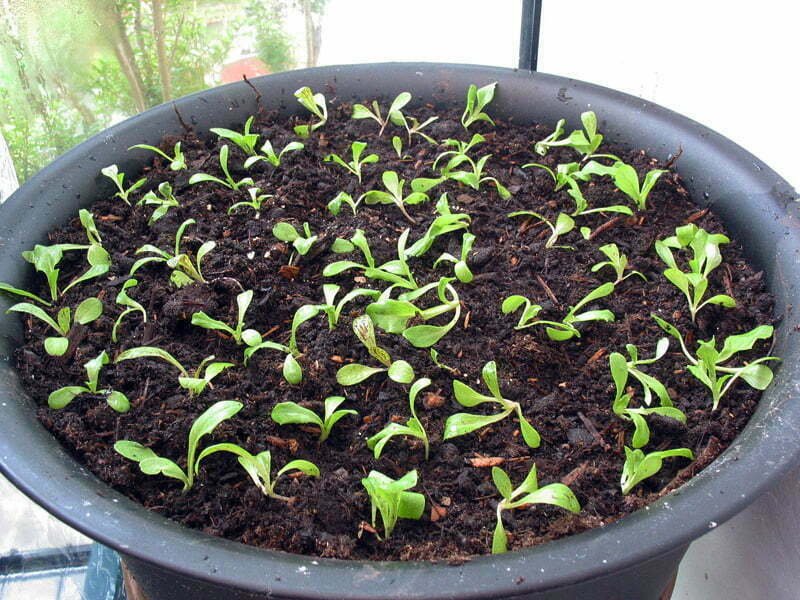
c. Planting Instructions
- Seed depth: ¼ inch
- Spacing: 8–12 inches apart
- Watering: Keep soil evenly moist but avoid waterlogging.
Oakleaf lettuce is ideal for succession planting, allowing you to harvest continuously throughout the growing season.
5. Caring for Oakleaf Lettuce
Oakleaf lettuce is relatively low-maintenance, but a few simple steps help maximize yield and quality:
- Water consistently: Shallow roots dry out quickly, especially in containers.
- Fertilize lightly: Use compost tea or organic fertilizer every 2–3 weeks.
- Mulch: Helps retain moisture and reduces weeds.
- Pest control: Watch for aphids, slugs, and snails. Organic remedies like neem oil or diatomaceous earth are effective.
Regular harvesting encourages new growth and ensures tender leaves.
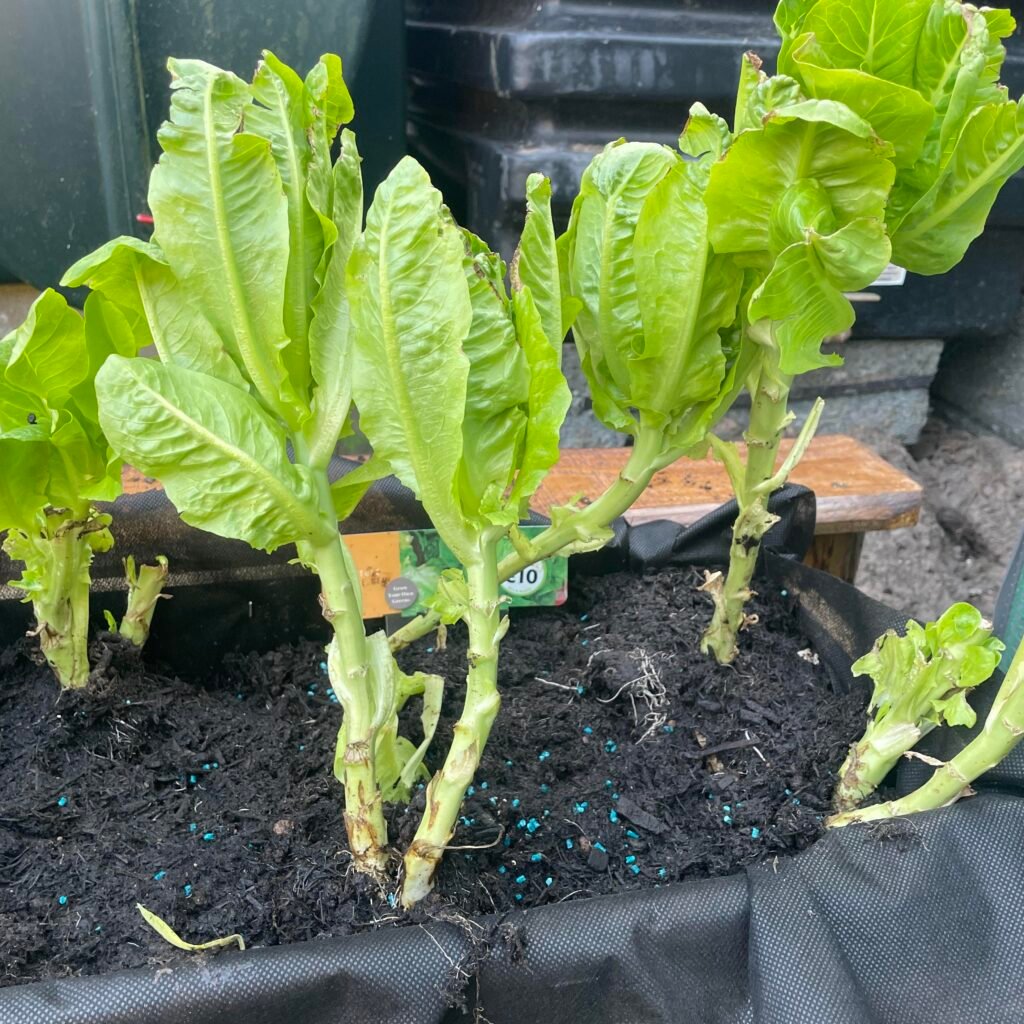
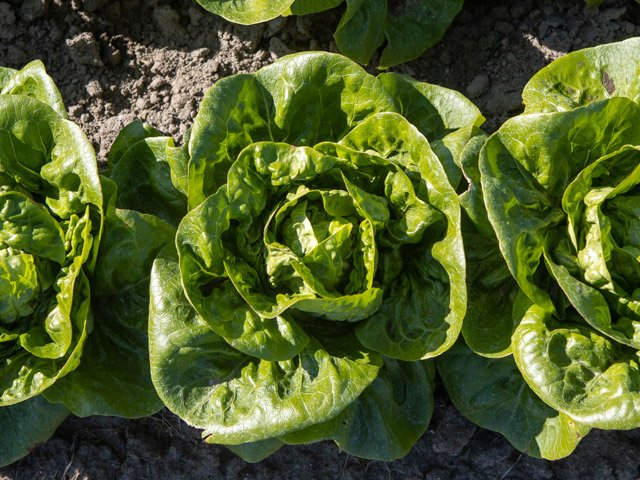
6. Harvesting and Storage
Oakleaf lettuce can be harvested in two ways:
- Cut-and-come-again: Snip outer leaves as needed, leaving the center intact for continuous production.
- Full head harvest: Cut the plant at the base when leaves reach 4–6 inches.
Storage tips:
- Store unwashed leaves in a plastic bag with a paper towel in the crisper drawer.
- Avoid washing until ready to use to prevent wilting.
- Proper storage keeps oakleaf lettuce fresh for up to 7–10 days.
7. Culinary Uses of Oakleaf Lettuce
Oakleaf lettuce is highly versatile in the kitchen. Its delicate texture and mild flavor make it ideal for a variety of American dishes.
a. Fresh Salads
Toss oakleaf leaves with cherry tomatoes, cucumbers, and a light vinaigrette for a colorful, refreshing salad.
b. Sandwiches and Wraps
Use individual leaves as wraps or in sandwiches. Their tender texture complements both proteins and spreads.
c. Smoothies and Juices
Blend oakleaf lettuce with fruits like apples or pineapples for a mild-flavored, nutrient-rich green smoothie.
d. Garnishes and Platters
The colorful leaves make a beautiful base for cheese boards, hors d’oeuvres, or charcuterie platters.
e. Lightly Sautéed or Stir-Fried
Quickly sauté oakleaf leaves with garlic and olive oil for a simple side dish. The leaves wilt slightly but retain their sweet flavor.
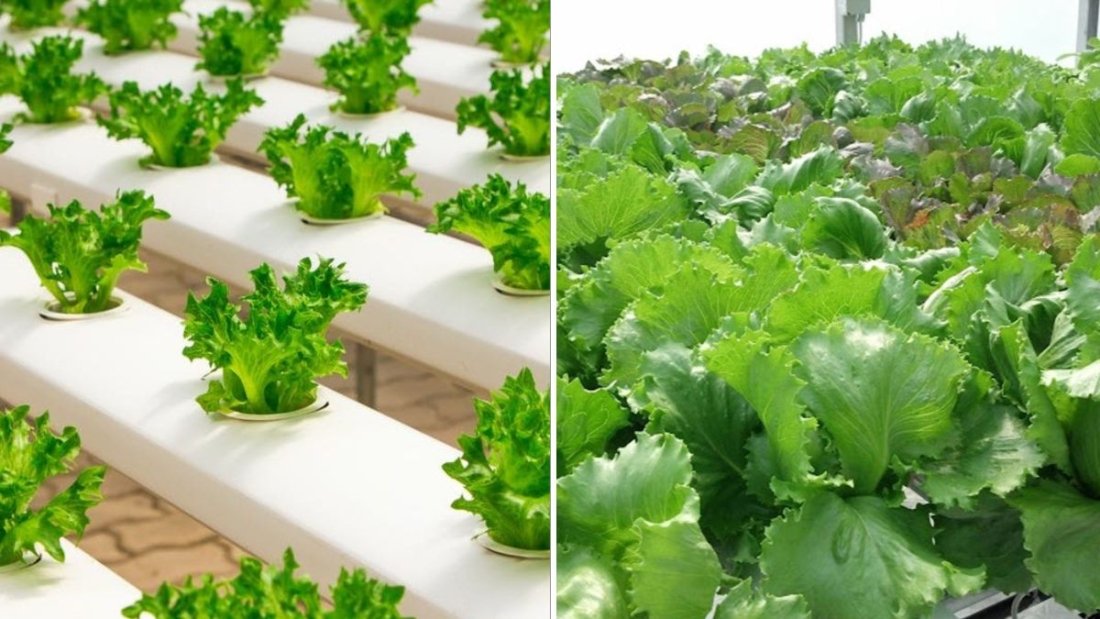
8. Oakleaf Lettuce Varieties Popular in the U.S.
American gardeners can choose from several varieties of oakleaf lettuce, each offering unique color and flavor profiles:
- ‘Red Oakleaf’: Deep red leaves with sweet flavor, perfect for salads and garnishes.
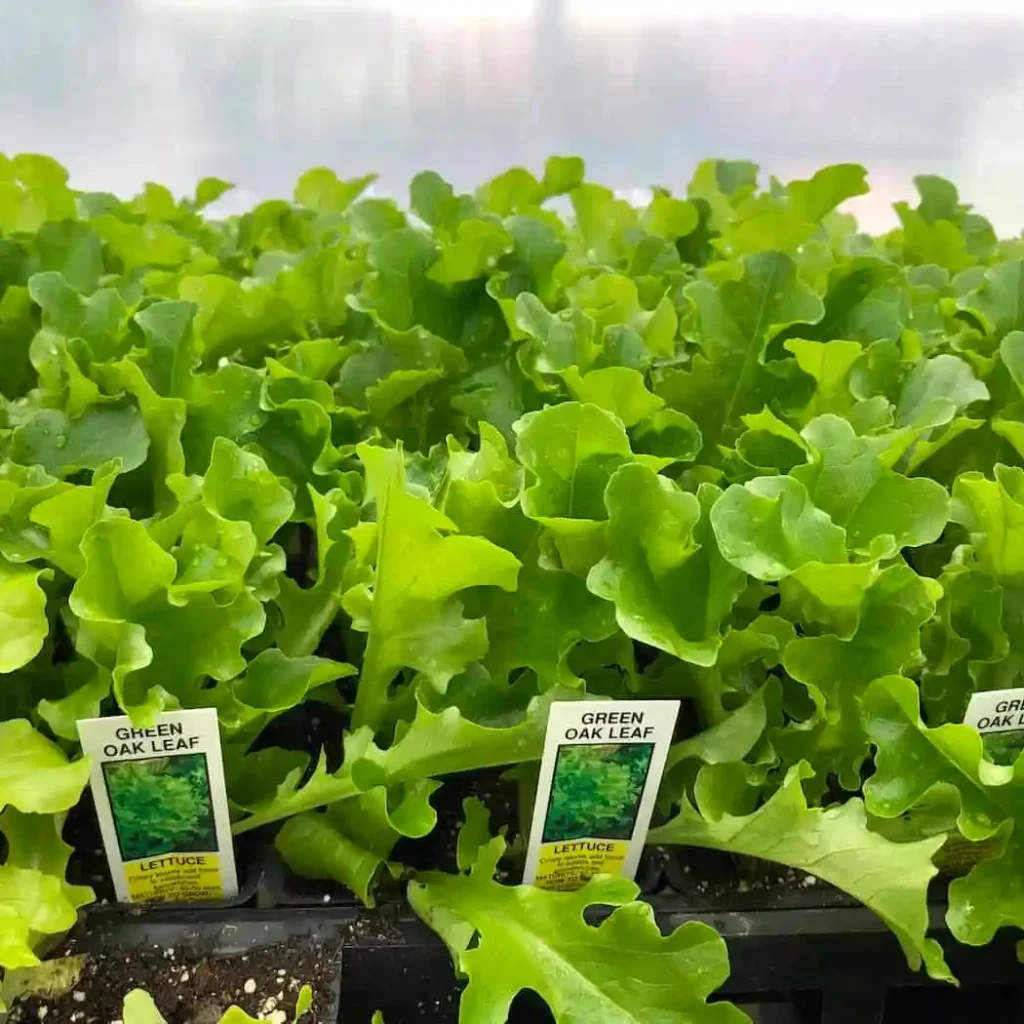
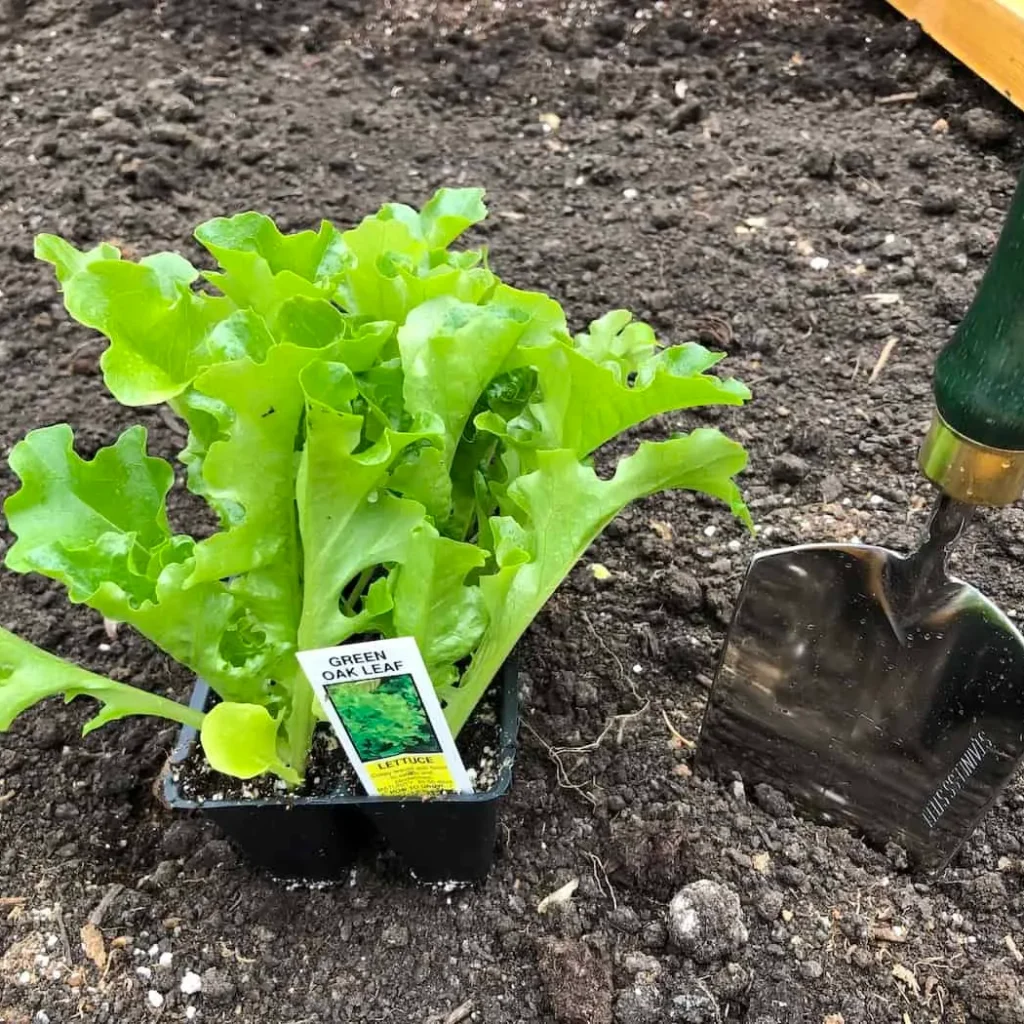
- ‘Green Oakleaf’: Mild, crisp, and tender; versatile in all recipes.
- ‘Bronze Oakleaf’: Attractive bronze-red hue, slightly nutty taste.
- ‘Black-Seeded Simpson’ (Oakleaf type): Fast-growing with delicate leaves.
Planting a mix of colors adds visual interest to salads and garden beds alike.
9. Health Benefits of Oakleaf Lettuce
Incorporating oakleaf lettuce into your diet offers numerous health benefits:
- Heart health: Potassium and folate support cardiovascular function.
- Digestive health: Fiber aids digestion and prevents constipation.
- Weight management: Low in calories and high in water, promoting fullness.
- Hydration: High water content helps maintain hydration in hot climates.
- Skin and eye health: Rich in vitamins A and C for glowing skin and healthy vision.
It’s a nutrient-packed green that fits perfectly into American diets focused on wellness and freshness.
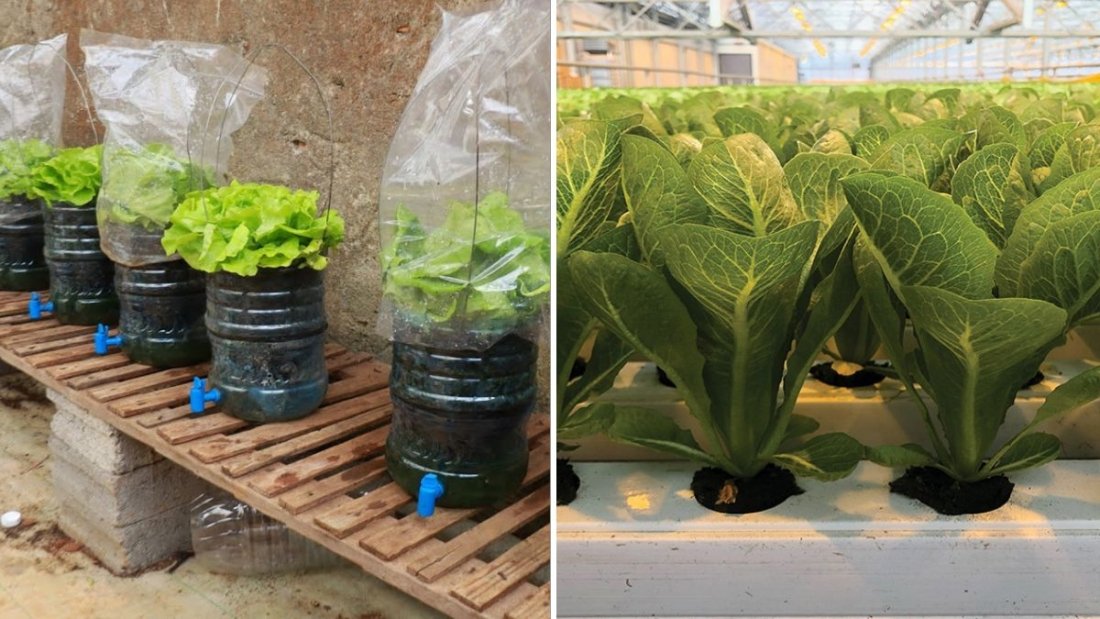
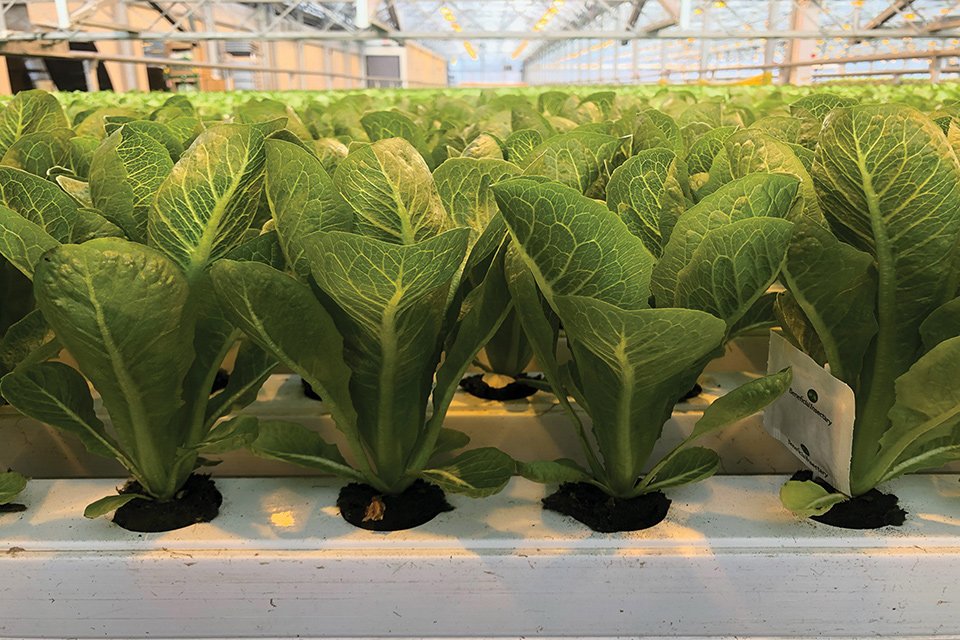
10. Growing Oakleaf Lettuce for Sustainability
Oakleaf lettuce is an excellent choice for sustainable gardening:
- Space-efficient: Compact growth allows for multiple plantings in small spaces.
- Water-smart: Fast growth means minimal water usage.
- Continuous harvest: Cut-and-come-again harvesting reduces waste.
- Organic-friendly: Thrives with minimal pesticides or chemical inputs.
For urban gardeners or small-scale farms, oakleaf lettuce is a practical, eco-friendly, and high-yield crop.
11. Why Oakleaf Lettuce Should Be in Every American Garden
Oakleaf lettuce combines beauty, nutrition, and flavor in one compact plant. Its vibrant leaves, tender texture, and easy growth make it ideal for American home gardens and kitchens.
Whether you’re creating colorful salads, healthy wraps, or elegant garnishes, oakleaf lettuce delivers freshness, visual appeal, and essential nutrients. Its quick growth, minimal maintenance, and versatility make it a must-have for gardeners and food lovers alike.
By planting oakleaf lettuce this season, you’re not only adding flavor and nutrition to your meals but also embracing sustainable, home-grown gardening practices. It’s a small leaf with a big impact—perfect for modern American lifestyles.