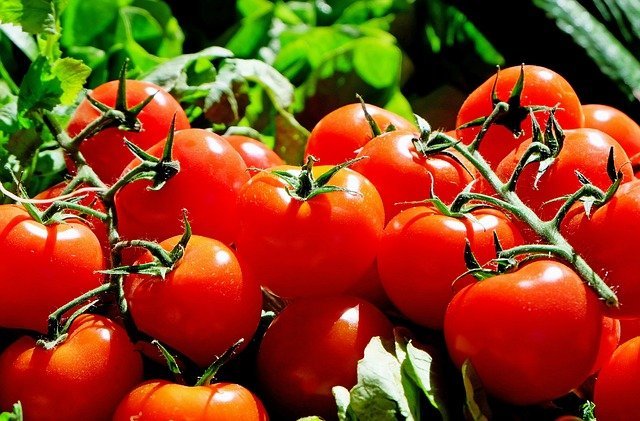
Tomatoes are hungry plants. To produce plump, flavorful fruit, they need a steady supply of nutrients throughout the growing season. But too much or too little fertilizer at the wrong time can harm your plants—causing lush leaves but few fruits, or stunted growth and yellowing foliage.
That’s why following a smart fertilizer schedule is essential. With the right nutrients applied at the right time, your tomato plants will thrive from seedling to harvest.
In this guide, we’ll walk through the best fertilizer schedule for healthy tomato growth, including what nutrients tomatoes need, when to apply them, and how to use both organic and natural options effectively.
Understanding Tomato Nutrient Needs
Before diving into the schedule, it helps to understand what tomatoes actually crave. Like all plants, tomatoes rely on three key macronutrients:
- Nitrogen (N): Promotes leafy green growth early in the season.
- Phosphorus (P): Stimulates root development, flower production, and fruit set.
- Potassium (K): Supports overall plant health, disease resistance, and fruit quality.
They also benefit from secondary nutrients and trace minerals such as:
- Calcium: Prevents blossom end rot.
- Magnesium: Important for chlorophyll production.
- Sulfur, Iron, Zinc, and Boron: Support metabolism and growth.
A healthy tomato fertilizer program balances all of these elements at different growth stages.
Phase 1: Pre-Planting Preparation (2–3 Weeks Before Planting)
Healthy tomato growth starts before your seedlings even hit the soil.

Goal: Build a nutrient-rich foundation.
What to Do:
- Test your soil: Use a home soil test kit to check nutrient levels and pH. Tomatoes prefer slightly acidic soil (pH 6.0–6.8).
- Amend your soil:
- Mix 2–3 inches of compost or well-rotted manure into the top 8–12 inches of soil.
- Add bone meal or rock phosphate for phosphorus (2–3 tablespoons per planting hole).
- Add wood ash or greensand for potassium if your soil test shows a deficiency.
- Optional boost: Mix in a slow-release organic fertilizer labeled for vegetables (something near 5-5-5 NPK).
This ensures your plants start in nutrient-rich soil that supports strong roots and early growth.
Phase 2: At Planting Time
Goal: Establish deep roots and healthy seedlings.
When transplanting your tomato starts into the garden, give them a nutrient boost that focuses on phosphorus and calcium.
Fertilizer type: A starter fertilizer high in phosphorus (like 4-12-4 or 5-10-5).
How to apply:

- Add 1–2 tablespoons of the fertilizer directly into the planting hole and mix well with soil before placing the seedling.
- You can also sprinkle crushed eggshells or a tablespoon of bone meal to supply calcium and phosphorus.
Avoid high-nitrogen fertilizers at this stage—excess nitrogen promotes leafy growth at the expense of root and flower development.
Phase 3: Early Growth (Weeks 1–4 After Planting)
Goal: Encourage steady vegetative growth without overstimulation.
During this period, your tomato plants are establishing roots and producing healthy foliage.
Best fertilizer: Balanced formula, such as 10-10-10 or organic compost tea.
How to apply:
- Feed once every 2 weeks with a liquid organic fertilizer diluted to half strength.
- Water plants thoroughly before and after feeding to prevent root burn.
Organic options:
- Compost tea (rich in microbial life).
- Fish emulsion (high in nitrogen but gentle).
- Seaweed extract (adds micronutrients and boosts resilience).
Tip: Keep nitrogen moderate. Too much will create lush, leafy plants that delay flowering.

Phase 4: Flowering Stage (Weeks 4–6)
Goal: Support flowering and fruit set.
As your plants begin to bloom, their nutritional focus shifts from growing leaves to producing flowers and fruit.
Fertilizer type: Low-nitrogen, high-phosphorus formula—something like 5-10-10 or 4-6-8.
How to apply:
- Apply fertilizer every 2–3 weeks, depending on plant vigor.
- Use a liquid fertilizer for quick absorption or a granular fertilizer scratched into the soil around the plant base.
- Stop using nitrogen-heavy feeds.
Organic alternatives:
- Bone meal or fish bone meal for phosphorus.
- Banana peel tea for potassium.
- Kelp meal to improve flower retention and stress tolerance.
Extra Tip: Mulch around the plants with straw or compost to regulate soil moisture and reduce nutrient loss.
Phase 5: Fruit Development (Weeks 6–12)
Goal: Promote healthy, flavorful fruits.

At this stage, your tomato plants are busy setting and growing fruit. They need potassium and calcium more than nitrogen.
Fertilizer type:
- Organic 4-6-8 or 3-4-6 formula.
- Or, use tomato-specific fertilizers (such as Espoma Tomato-Tone or Jobe’s Organic Tomato Food).
How to apply:
- Fertilize every 2–3 weeks throughout fruiting.
- Water thoroughly before and after applying fertilizer.
- Side-dress with compost or worm castings midseason for a natural nutrient boost.
Calcium tip: If you notice small black spots at the bottom of fruits (blossom end rot), spray a calcium solution (1 tablespoon of calcium nitrate per liter of water) once a week.
Phase 6: Late Season (After Peak Harvest)
Goal: Maintain plant health and extend production.
As plants age, nutrient demand decreases slightly, but they still need steady potassium and micronutrients to keep producing quality fruit.
Fertilizer type:

- Low-nitrogen formula, such as 3-4-6 or 2-3-5.
- Continue organic feeding every 3–4 weeks until the final harvest.
If you’re growing in containers, fertilize a bit more frequently, as nutrients wash out faster due to frequent watering.
Pro Tip: Use liquid seaweed extract or compost tea in late summer to help plants recover from heat stress and maintain vigor.
Sample Fertilizer Schedule (Summary Table)
| Growth Stage | Timeframe | Fertilizer Type | Frequency | Focus Nutrients |
|---|---|---|---|---|
| Pre-Planting | 2–3 weeks before planting | Compost + Bone Meal | Once | Phosphorus, Potassium |
| Transplanting | Planting day | Starter Fertilizer (5-10-5) | Once | Phosphorus, Calcium |
| Early Growth | Weeks 1–4 | Balanced Feed (10-10-10 or Compost Tea) | Every 2 weeks | Nitrogen, Micronutrients |
| Flowering | Weeks 4–6 | Low-Nitrogen, High-P (5-10-10) | Every 2–3 weeks | Phosphorus, Potassium |
| Fruiting | Weeks 6–12 | Tomato Fertilizer (4-6-8) | Every 2–3 weeks | Potassium, Calcium |
| Late Season | After Peak Harvest | Seaweed or Compost Tea | Every 3–4 weeks | Micronutrients |
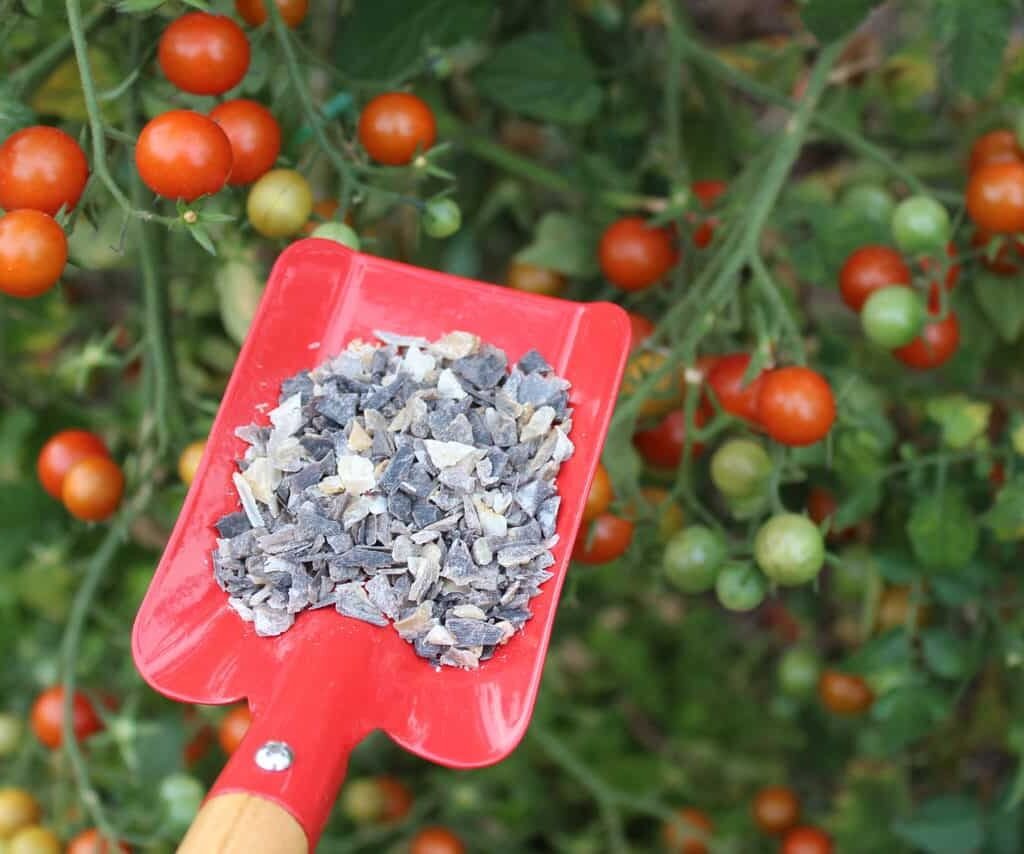
Organic Fertilizer Options for Tomatoes
If you prefer to keep your garden natural, try these organic fertilizers that deliver a balanced nutrient profile:
- Compost or worm castings: Improves soil structure and microbial health.
- Fish emulsion: Great for early vegetative growth.
- Bone meal: Encourages flower and fruit development.
- Kelp meal or seaweed extract: Adds trace minerals and promotes resilience.
- Epsom salt (magnesium sulfate): 1 tablespoon per gallon of water every month supports chlorophyll production and prevents leaf yellowing.
Additional Tips for Fertilizer Success
- Water wisely: Always water before fertilizing—dry soil can cause nutrient burn.
- Don’t overfeed: More fertilizer doesn’t mean more fruit; it can stunt or stress plants.
- Mulch generously: Reduces nutrient leaching and keeps roots cool.
- Monitor growth: Pale leaves indicate nitrogen deficiency, while dark green but flowerless plants suggest too much nitrogen.
- Use slow-release options: Organic fertilizers feed gradually, preventing over-fertilization.
Final Thoughts
A consistent and balanced fertilizer routine is the secret to healthy, high-yielding tomato plants. By feeding according to your plant’s growth stage—starting with phosphorus for roots, balanced nutrients for leaves, and potassium for fruit—you’ll help your tomatoes reach their full potential.
Remember: healthy soil equals healthy plants. Combine a good fertilizer schedule with compost, mulch, and proper watering, and your tomato garden will reward you with flavorful, abundant harvests all season long.
Leave A Comment