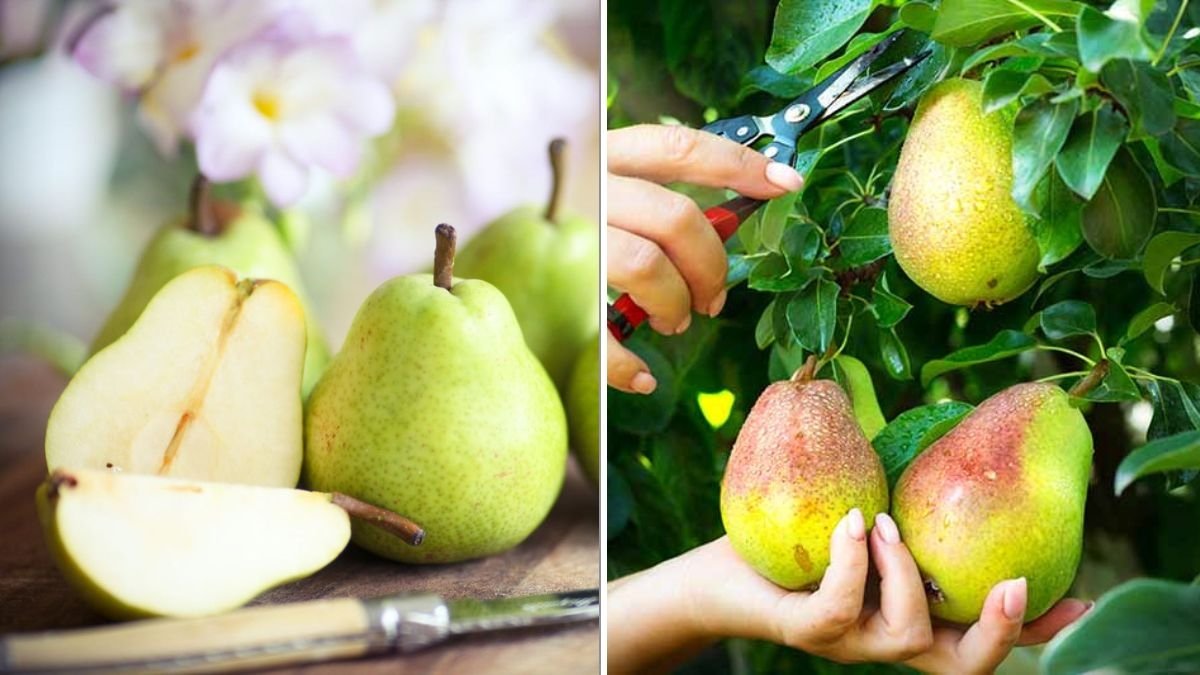
There’s something so satisfying about harvesting your own pears—whether from a backyard tree, a local orchard, or even a farmers’ market haul. But if you’ve ever bitten into a green, rock-hard pear, you know how disappointing it can be. Unlike many fruits, pears don’t ripen well on the tree. Instead, they’re meant to mature off the branch—a unique process that can leave many gardeners and home cooks wondering how to properly ripen them once picked.
Fortunately, with the right approach, you can turn those firm, green pears into perfectly sweet, juicy fruit. This guide explains why pears behave this way, when to harvest them, and how to ripen them at home for the best flavor and texture.
Why Pears Don’t Ripen on the Tree
Unlike apples or peaches, pears ripen best after they’re harvested. This is because of a natural plant hormone called ethylene, which triggers the ripening process. When pears remain on the tree until fully ripe, they often turn mealy or gritty in texture before achieving peak sweetness.
By picking them when they’re mature—but still firm—you allow them to ripen evenly off the tree, avoiding that unpleasant graininess. The process mimics nature’s timing while giving you more control over the fruit’s quality.
In short:
- On the tree: Pears develop starch and size.
- Off the tree: Starch converts to sugar, and the fruit softens beautifully.
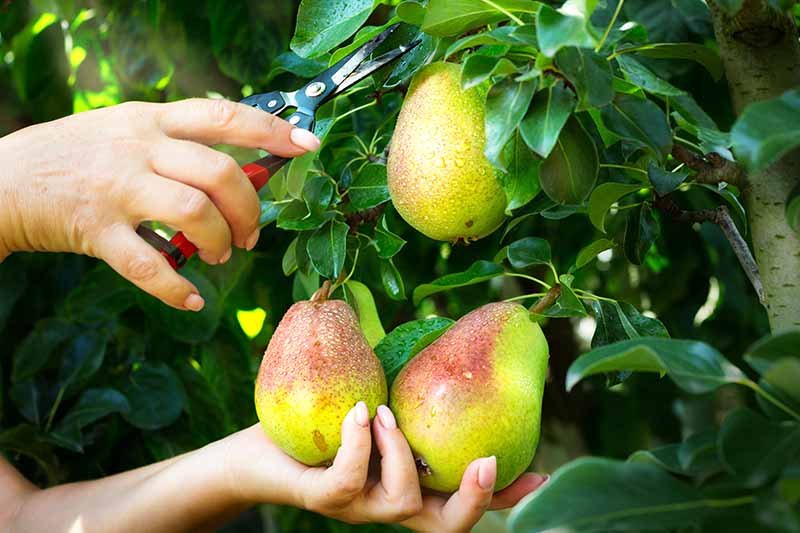
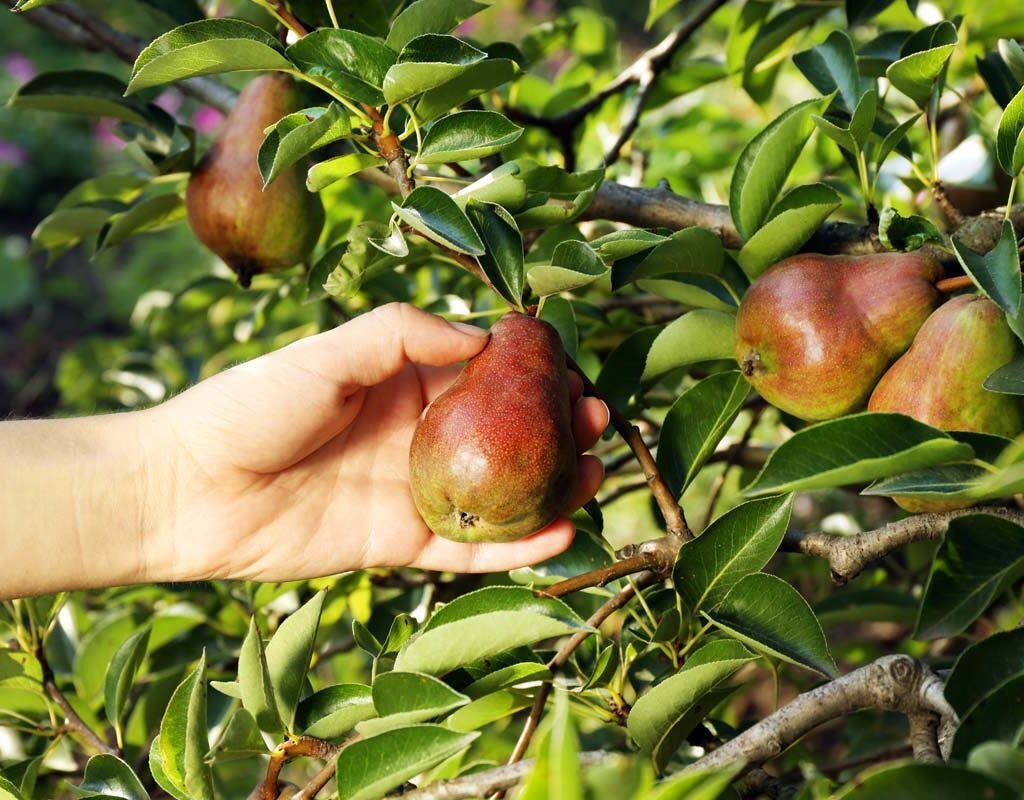
Step 1: Know When to Pick Your Pears
The first step in ripening success is knowing when to harvest. Picking too early means the pears may never ripen; picking too late can result in mushy fruit.

Signs your pears are ready to harvest:
- Color shift: Most green varieties (like Bartlett or D’Anjou) lighten slightly in color. Yellow varieties (like Bosc) develop a more golden tone.
- Tilt test: Gently lift a pear to a horizontal position—if it detaches easily from the branch with a small twist, it’s mature.
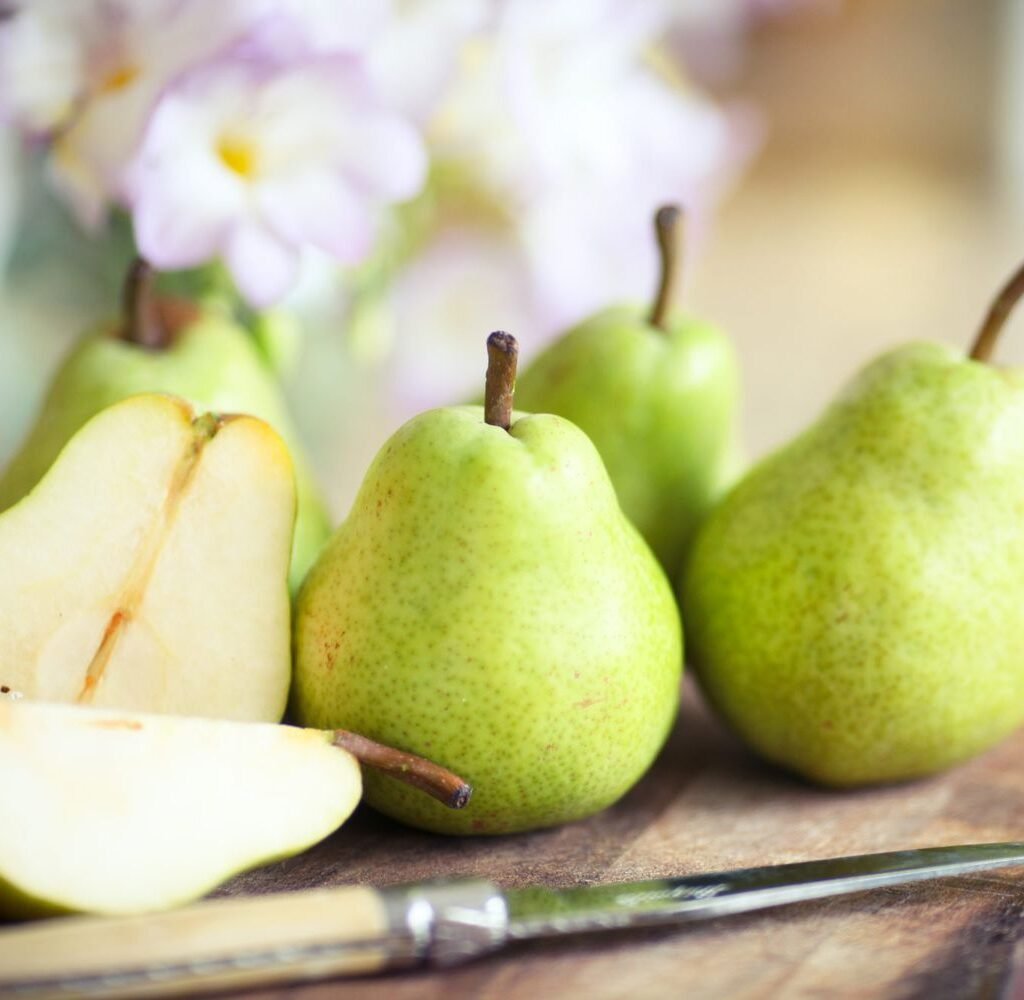
- Firmness: The fruit should feel hard but not rock solid.
- Seeds: If you cut one open, mature seeds should be brown, not white.
Tip: Always handle pears carefully when harvesting—they bruise easily, and damaged fruit won’t ripen evenly.
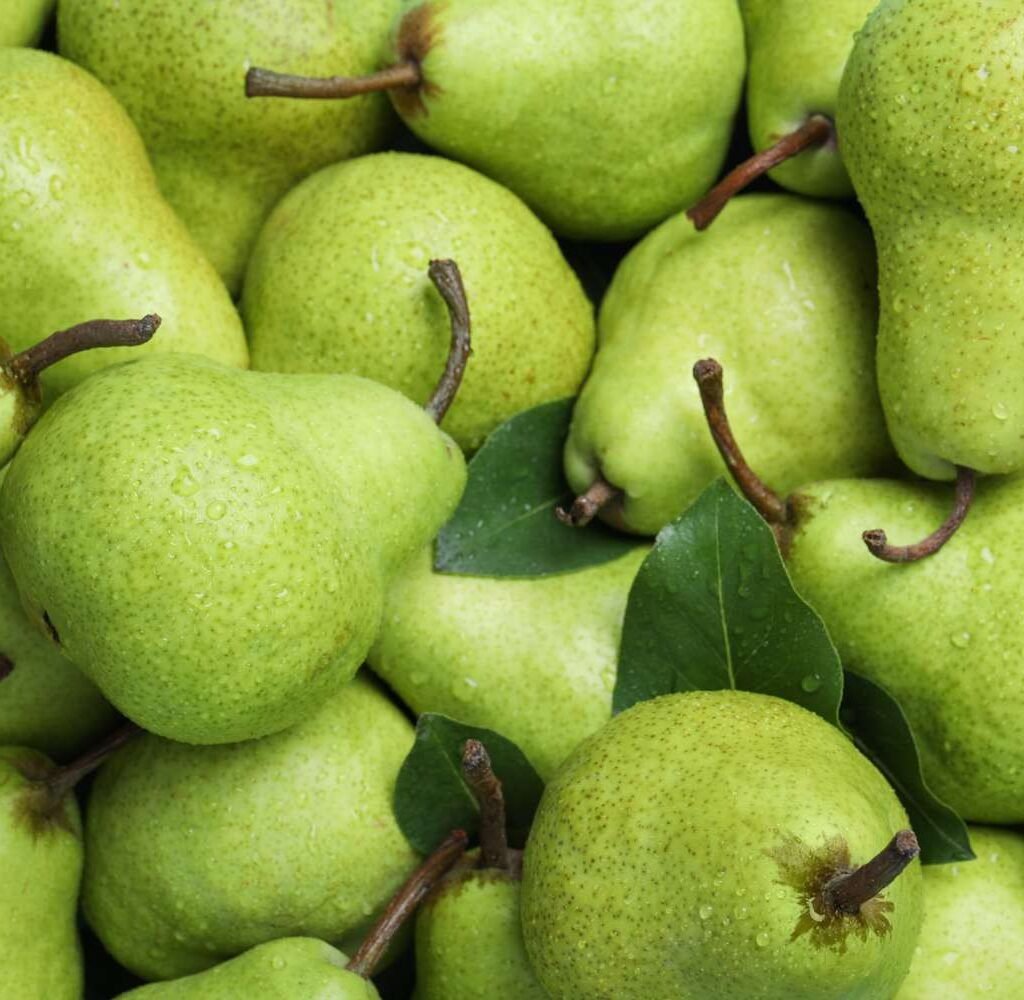
Step 2: Sorting and Storing Freshly Picked Pears
Once harvested, sort your pears to separate any bruised or blemished ones. Damaged pears release more ethylene gas, which can cause others to over-ripen or spoil prematurely.
For short-term storage:
- Keep pears in a cool, dark place (like a pantry or cellar) at 30–40°F (around 0–4°C).
- Arrange them in a single layer, not stacked, to prevent pressure bruising.
For long-term storage:
- You can refrigerate mature but unripe pears for up to 3–4 weeks.
- Move them to room temperature when you’re ready to start the ripening process.
Step 3: Ripening Pears at Room Temperature
The simplest and most effective way to ripen pears is to let them sit at room temperature until they soften naturally.

Here’s how:
- Place unripe pears in a single layer on the counter or in a shallow bowl.
- Keep them out of direct sunlight but in a warm (65–75°F / 18–24°C) environment.
- Check daily by pressing gently near the stem—when the fruit yields slightly to pressure, it’s ripe.
Most varieties take 4–7 days to ripen this way, though cooler temperatures can slow things down.
Pro tip: Line your bowl with paper towels to absorb any moisture and prevent mold.
Step 4: Speeding Up the Ripening Process
If you can’t wait a week to enjoy your pears, you can easily accelerate the process with natural ethylene producers.
Method 1: Paper Bag Trick
- Place 3–5 pears in a brown paper bag and fold the top loosely.
- Add one ripe banana or apple—both release ethylene gas, which speeds ripening.
- Store at room temperature and check daily.
Method 2: Cloth Wrap Method

- Wrap pears in a breathable cotton towel or napkin and leave them in a warm spot (like on top of the fridge).
- The enclosed space traps ethylene gas, encouraging faster ripening.
Method 3: Warm Room Method
- Move pears to the warmest room in your house (but away from direct heat).
- Warmer temperatures accelerate ripening, though this can sometimes cause uneven softening—so check often.
Typically, these methods shorten ripening time to 2–3 days.
Step 5: Slowing Down Ripening Once Perfect
Once your pears are perfectly soft and fragrant, it’s important to pause the ripening process before they go overripe.
To do this:
- Transfer ripe pears to the refrigerator immediately.
- They’ll stay fresh for 5–7 more days.
For the best texture and sweetness, bring them back to room temperature for about an hour before eating.
Tip: Avoid freezing whole pears. If you want to preserve them longer, consider making pear sauce, jam, or poached pears instead.

Step 6: Understanding Different Pear Varieties
Not all pears ripen at the same rate. Knowing the characteristics of your variety helps you predict and control ripening more effectively.
Common Varieties and Their Ripening Notes:
| Variety | Type | Ripening Time (after picking) | Flavor & Texture |
|---|---|---|---|
| Bartlett | Summer | 4–7 days | Sweet, juicy, classic pear flavor |
| Bosc | Winter | 10–14 days | Firm, spicy-sweet, ideal for baking |
| D’Anjou | Winter | 7–10 days | Mild, dense flesh |
| Comice | Late season | 5–8 days | Very sweet, tender, best for fresh eating |
| Asian Pear | Tree-ripened | Usually ripens on tree | Crisp like an apple, mild sweetness |
Winter pears (like Bosc or D’Anjou) need a longer indoor ripening period, while summer pears (like Bartlett) mature faster.
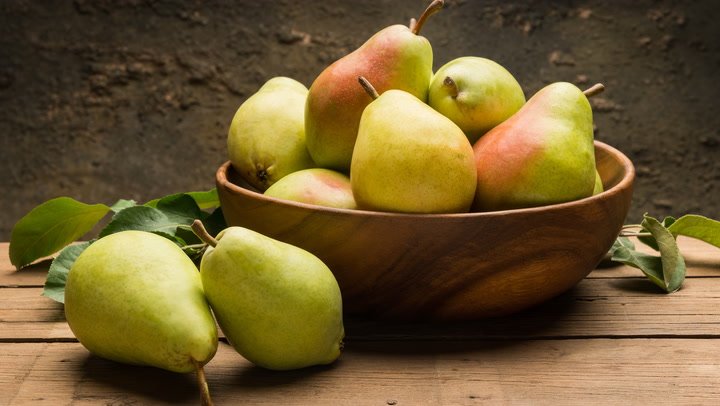
Step 7: Using Ripe Pears in the Kitchen
Once your pears are perfectly ripe, the possibilities are endless. Their natural sweetness and silky texture make them perfect for both savory and sweet dishes.
Delicious ways to enjoy ripe pears:
- Slice over oatmeal, yogurt, or cereal.
- Pair with blue cheese and walnuts in a salad.
- Roast with honey and cinnamon for a simple dessert.
- Poach in red wine or spiced syrup for a showstopping treat.
- Blend into smoothies or bake into muffins and tarts.
And if your pears ripen all at once, don’t worry—make pear compote or jam to enjoy their flavor year-round.

Step 8: Common Ripening Mistakes to Avoid
Even experienced gardeners can make small errors when ripening pears. Here’s what to watch for:
- Leaving pears on the tree too long: This leads to gritty, overripe fruit.
- Storing in airtight containers: Pears need airflow; sealed containers trap moisture and cause mold.
- Placing in direct sunlight: This can overheat and shrivel the fruit instead of ripening it evenly.
- Ignoring daily checks: Pears can go from perfect to overripe in less than 24 hours once they start softening.
Rule of thumb: “Cool to store, warm to ripen.”
Final Thoughts
Ripening pears after picking might seem tricky at first, but once you understand how they work, it becomes second nature. The key lies in timing—harvesting at the right maturity stage, ripening at room temperature, and storing cool once they’re ready.
With just a little patience and a few tricks, you can enjoy perfectly ripe, buttery-sweet pears every time—whether they’re homegrown or store-bought.
So next time you find yourself staring at a basket of firm green pears, don’t worry. Give them a little warmth, a little time, and they’ll reward you with the delicate flavor and texture that makes pears one of autumn’s most elegant fruits.
Leave A Comment