If you love the idea of growing your own plants but feel limited by space, a vertical garden might be your perfect solution. Instead of spreading plants across a wide plot, vertical gardening allows you to grow upward—using walls, fences, or custom frames to maximize every inch. Whether you live in an apartment with a balcony, a townhouse with a small yard, or simply want to make your garden more efficient, this creative approach offers beauty and practicality.
Here’s a step-by-step guide on how to build your own DIY vertical garden, plus tips on choosing plants, keeping costs low, and making the most of your space.
Why Choose a Vertical Garden?
Vertical gardens are more than just space-savers. They come with several added benefits:

- Maximizes small spaces: Perfect for balconies, patios, courtyards, and small yards.
- Improves air quality: Plants absorb pollutants and release oxygen, even in urban areas.
- Reduces heat and noise: Living plant walls act as natural insulation.
- Creates privacy: Vertical gardens double as green screens, blocking unwanted views.
- Adds beauty: From lush greenery to colorful blooms, they transform plain walls into living art.
As landscape designer Sarah Keene explains: “Vertical gardens make small spaces feel alive, layered, and full of character, while also making gardening accessible for those without traditional yards.”
Step 1: Choose the Right Location
Your vertical garden’s success depends on light, accessibility, and support.
- Light: Observe how much sunlight your space receives. Most herbs and vegetables need at least 6 hours of sun, while ferns and shade-loving plants thrive in lower light.
- Accessibility: Place your garden somewhere you can easily water, prune, and harvest.
- Support: Make sure your wall, fence, or chosen structure can handle the weight of soil, plants, and water.
Step 2: Pick Your Vertical Garden Structure
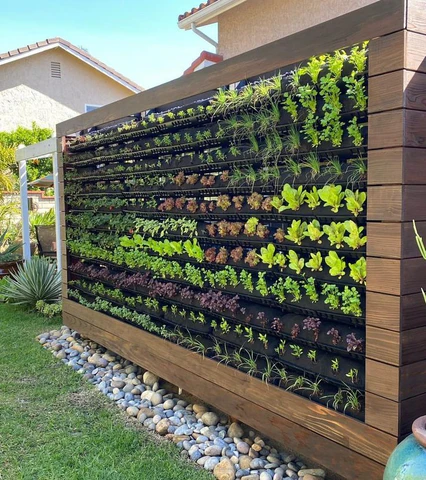
There are many ways to build a vertical garden, ranging from simple to elaborate. Here are popular options:

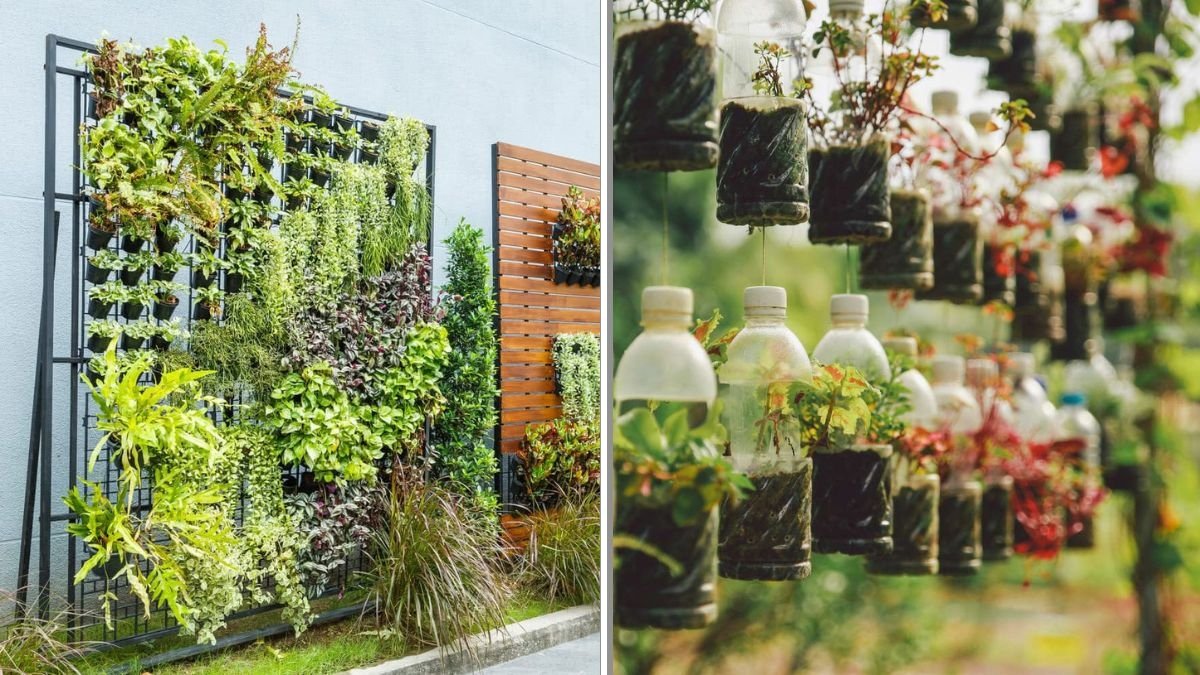
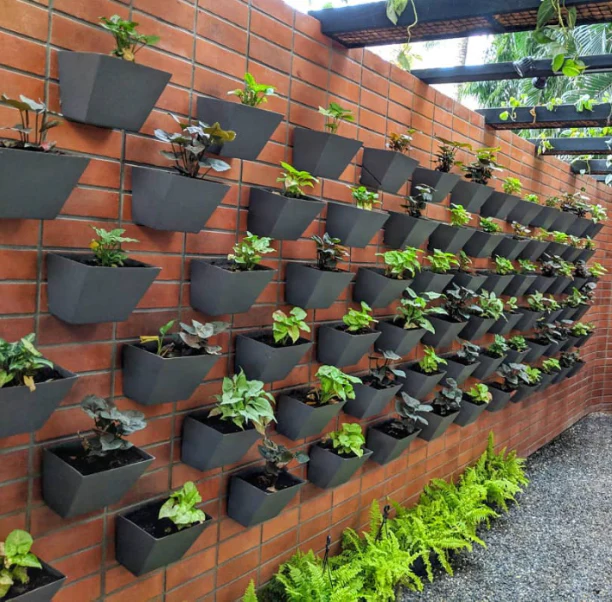
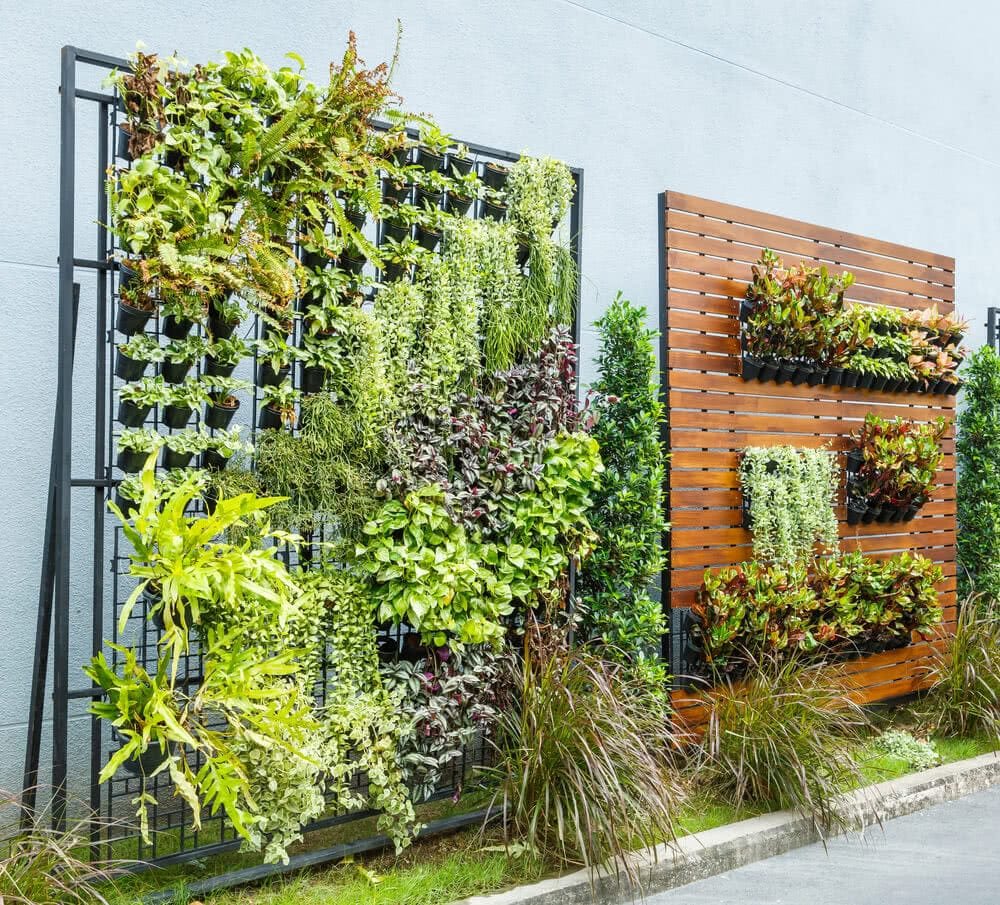
- Wall-mounted planters: Small pots or planters attached to wooden boards or metal grids.
- Hanging pockets: Fabric or felt pocket organizers designed for plants—lightweight and easy to mount.
- Stacked planters: Tiered shelving or recycled crates stacked on top of each other.
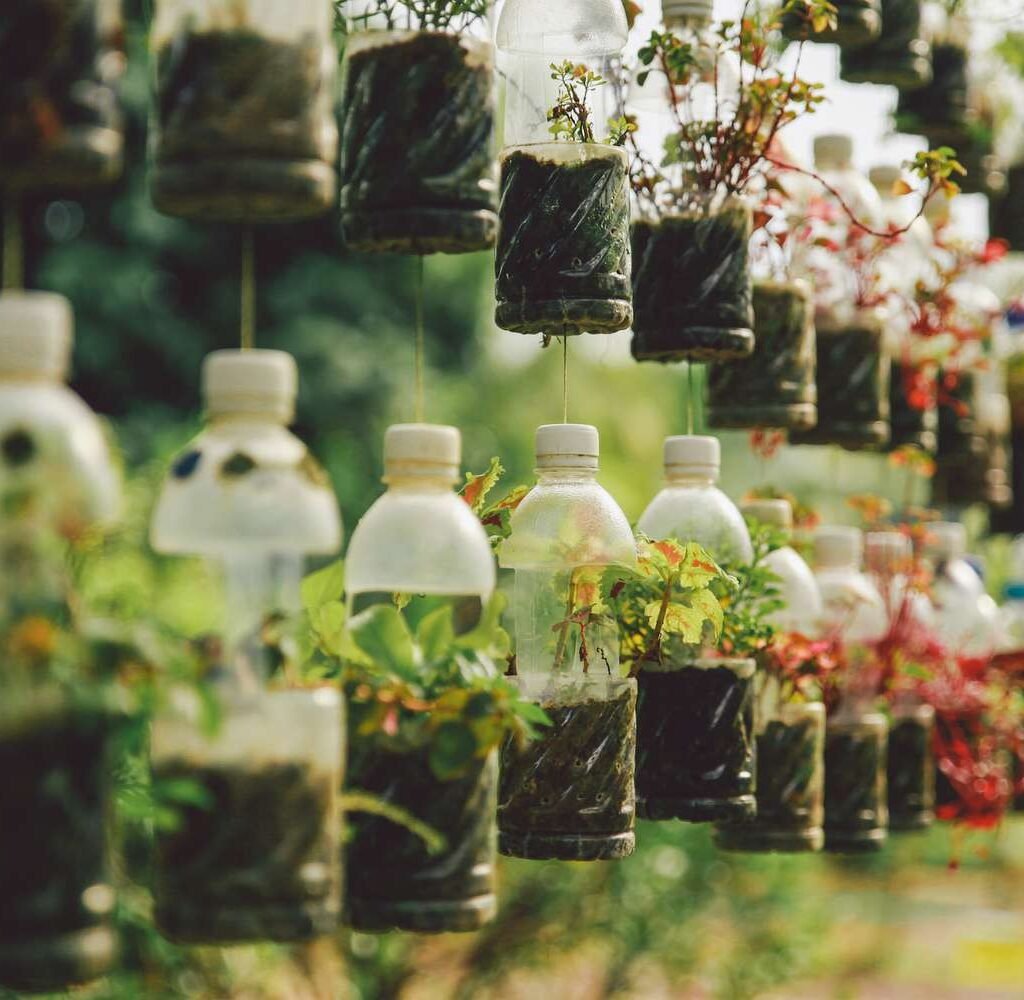
- Pallet gardens: Recycled wooden pallets lined with landscape fabric and filled with soil.
- Trellises or climbing frames: Perfect for beans, cucumbers, and flowering vines.
If you’re handy with tools, you can build a custom wooden frame. If not, upcycling everyday items like shoe organizers or old bookshelves works just as well.
Step 3: Select Plants for Vertical Growing
Not every plant adapts well to vertical systems. Choose species that are compact, trailing, or climbing.
Best choices include:

- Herbs: Basil, thyme, mint, parsley, chives, oregano.
- Leafy greens: Lettuce, spinach, kale, arugula.
- Climbers: Peas, pole beans, cucumbers, cherry tomatoes.
- Flowers: Petunias, nasturtiums, fuchsias, marigolds.
- Ornamentals: Ferns, ivy, succulents, pothos.
Pro tip: Group plants with similar water and light needs to make maintenance easier.
Step 4: Soil, Watering, and Fertilization
- Soil: Use lightweight, nutrient-rich potting mix instead of heavy garden soil. Consider adding perlite or coconut coir for better drainage.
- Watering: Vertical gardens dry out more quickly, so invest in a drip irrigation system or self-watering planters. For smaller projects, a watering can or spray bottle works fine.
- Fertilization: Since nutrients wash away faster, feed plants with liquid fertilizer every few weeks.
Step 5: Build and Plant Your Garden

- Assemble your structure – Mount pallets, hang planters, or set up trellises.
- Add liners if needed – Fabric liners help retain soil and prevent mess.
- Fill with soil – Use a lightweight mix to avoid stressing the structure.
- Plant strategically – Place taller or trailing plants higher up, and heavier plants in lower pockets for stability.
- Water thoroughly – Give your plants a deep first watering to help them settle in.
Step 6: Maintain Your Vertical Garden
Like any garden, vertical gardens need regular care:
- Prune and harvest frequently to encourage new growth.
- Check for pests—aphids and mites can spread quickly in compact systems.
- Rotate plants seasonally to refresh soil and add variety.
- Clean structures once or twice a year to prevent buildup of algae or mold.
Budget-Friendly Tips
- Repurpose wooden pallets, tin cans, or shoe organizers instead of buying new planters.
- Start with seeds instead of mature plants to cut costs.
- Use compost from kitchen scraps to feed your garden naturally.
- Swap cuttings and seedlings with neighbors to expand your plant variety for free.
Creative Vertical Garden Ideas
If you want your project to stand out, here are some fun twists:

- Kitchen herb wall: Grow fresh herbs right outside your kitchen door.
- Succulent art panel: Arrange drought-tolerant succulents in a wooden frame for a living picture.
- Privacy screen: Train vines on trellises to create natural green dividers.
- Seasonal rotation: Swap in holiday flowers or themed colors throughout the year.
Final Thoughts
A DIY vertical garden is one of the most rewarding ways to maximize limited space while enjoying greenery, fresh food, and a healthier environment. With a little creativity and planning, you can transform even the smallest balcony or patio into a lush, thriving oasis.
As Sarah Keene says: “Vertical gardening proves you don’t need a large backyard to enjoy the benefits of nature—just a wall, a few plants, and a vision.”
Whether you dream of homegrown salads, a vibrant flower wall, or a calming green backdrop, a vertical garden can make it happen—without requiring extra square footage.

Leave A Comment