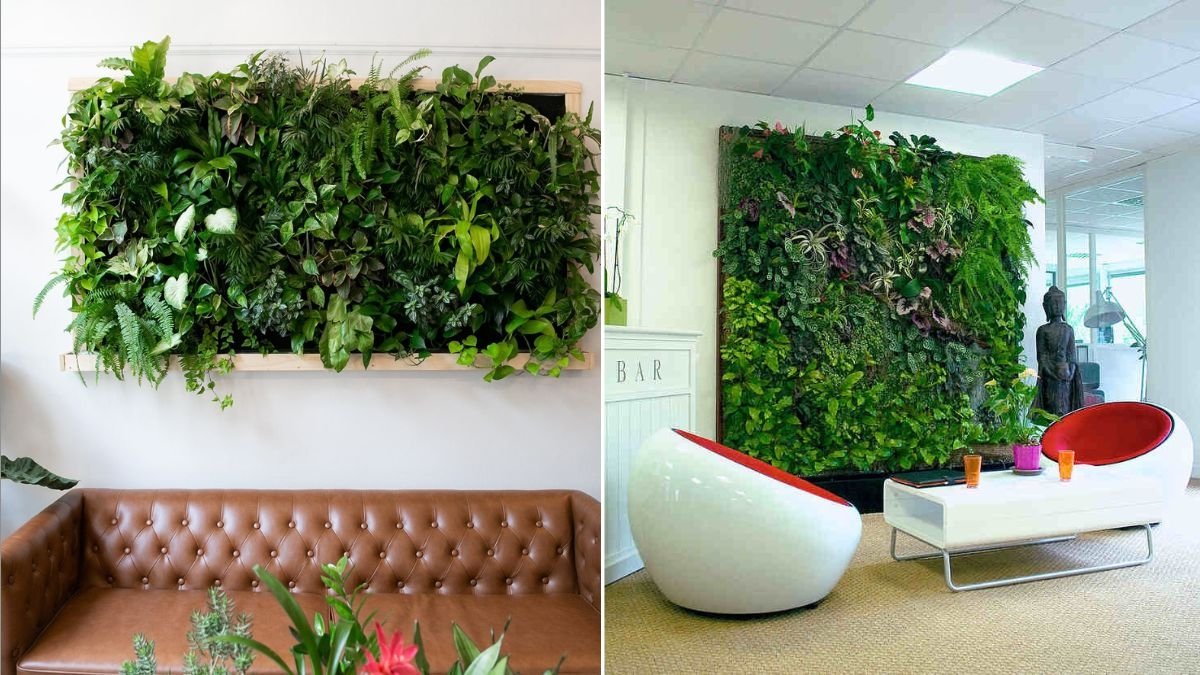
Indoor plants don’t just look beautiful—they improve air quality, reduce stress, and create a calming environment. But what if you could take the benefits of houseplants to the next level? That’s where indoor green walls, also called living walls or vertical gardens, come in. These lush, plant-covered walls transform blank spaces into vibrant displays while boosting your home’s atmosphere and even its value.
The good news: you don’t need a professional contractor or a huge budget to build one. With some planning, basic materials, and creativity, you can create a DIY green wall that fits your style and space. Here’s a complete step-by-step guide to help you get started.
What Is a Green Wall?
A green wall is a vertical structure covered with plants, often integrated into a frame, planter pockets, or modular system. Indoors, they can range from a small framed herb garden in the kitchen to a full wall installation in a living room. Unlike potted plants on shelves, green walls maximize vertical space and create a striking natural focal point.
Why build one indoors?

- Improves air quality by filtering toxins.
- Acts as natural insulation, regulating temperature and humidity.
- Reduces stress and enhances mood.
- Adds a modern, eco-friendly design element to interiors.
Step 1: Choose the Right Location
Before you start building, select a spot that meets the following criteria:
- Light: Most indoor plants need bright, indirect light. Place your wall near a window with filtered sunlight or plan to add grow lights.
- Accessibility: You’ll need to water and trim plants regularly. Choose a spot that’s easy to reach.
- Wall Strength: Ensure the wall can support the weight of your frame, planters, soil, and plants.
Pro Tip: Avoid placing your green wall directly above electrical outlets or appliances to prevent water damage.
Step 2: Decide on the Type of Green Wall
There are several DIY approaches depending on your budget and design preferences.
- Wall Planter Pockets
- Fabric or felt planters that hang directly on the wall.
- Easy to install and lightweight.
- Great for small herbs, trailing plants, and low-maintenance greenery.
- Mounted Pots or Shelves
- Use wall-mounted racks, shelves, or grid panels with small pots attached.
- Offers flexibility for rearranging plants.
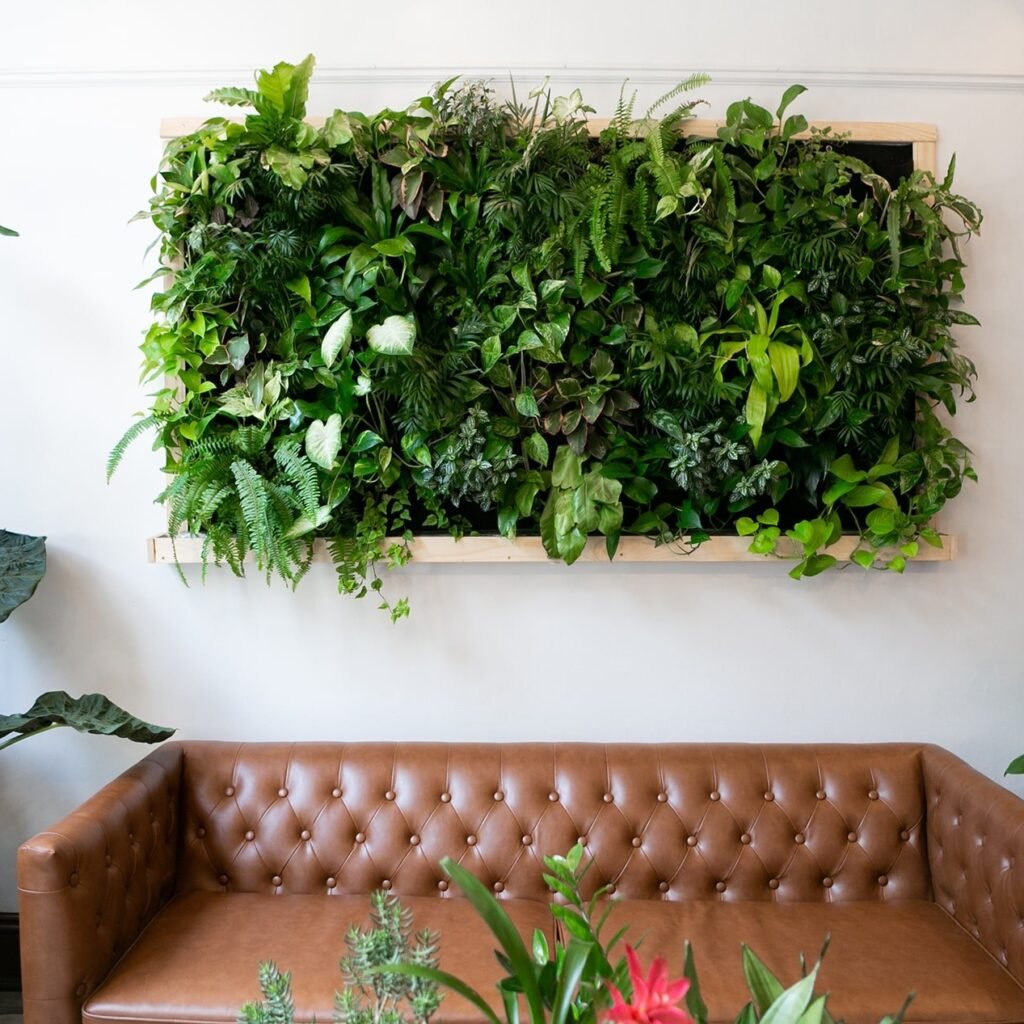
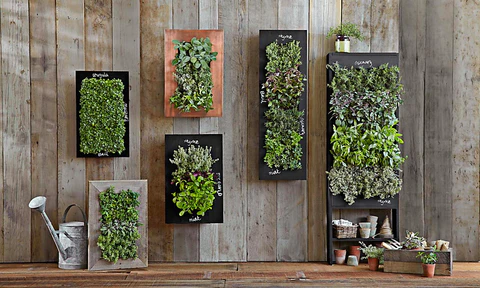
- Framed Green Wall
- Build or buy a wooden frame with rows of planting cells or pockets.
- Creates a polished, “living artwork” effect.
- Hydroponic Green Wall
- Advanced option where plants grow without soil, using a nutrient-rich water system.
- Requires more setup but reduces mess and watering needs.
Step 3: Gather Materials
For a simple framed or pocket-style green wall, you’ll need:

- Wooden frame or grid panel (metal mesh or trellis works, too)
- Mounting brackets, screws, and anchors
- Waterproof backing (pond liner or heavy-duty plastic sheet)
- Planting pockets (fabric planters, recycled bottles, or wooden boxes)
- Potting soil or hydroponic medium
- Indoor plants (see recommendations below)
- Drip irrigation kit or watering can
- Optional: grow lights for low-light rooms
Step 4: Select the Right Plants
Not all indoor plants thrive on vertical walls. Choose species that tolerate close planting, variable moisture, and partial shade.
Best Indoor Green Wall Plants:
- Air-purifying plants: Spider plant, pothos, peace lily, Boston fern.
- Trailing plants: Philodendron, English ivy, string of pearls.
- Compact plants: Fittonia, peperomia, ferns, dwarf herbs.
- Herbs for kitchens: Basil, thyme, parsley, mint (if wall gets enough light).
Mix textures and shades of green for visual interest, and add pops of color with flowering plants like orchids or bromeliads.
Step 5: Build Your Frame and Backing
- Measure your wall and build or buy a wooden or metal frame.
- Attach a waterproof sheet or pond liner to protect your wall from moisture.
- Fix your planting pockets, shelves, or containers securely to the frame.
- Mount the frame onto the wall using heavy-duty brackets and wall anchors.
Safety Tip: Always check the wall’s weight capacity before installation.

Step 6: Planting and Arrangement
- Fill containers or pockets with lightweight potting soil.
- Arrange larger plants at the bottom and trailing plants toward the top for balance.
- Group plants with similar light and water needs together.
- Consider a pattern or gradient for design impact (e.g., alternating dark and light foliage).
Step 7: Watering and Maintenance System
The key to a successful green wall is consistent watering. Options include:
- Manual watering: Use a long-spout watering can; suitable for small setups.
- Drip irrigation system: Install tubing at the top that drips water downward through pockets.
- Self-watering planters: Some modular systems have built-in reservoirs.
Maintenance tips:
- Trim plants regularly to keep them healthy and avoid overcrowding.
- Rotate or replace plants as needed.
- Fertilize every few weeks with a diluted liquid fertilizer.
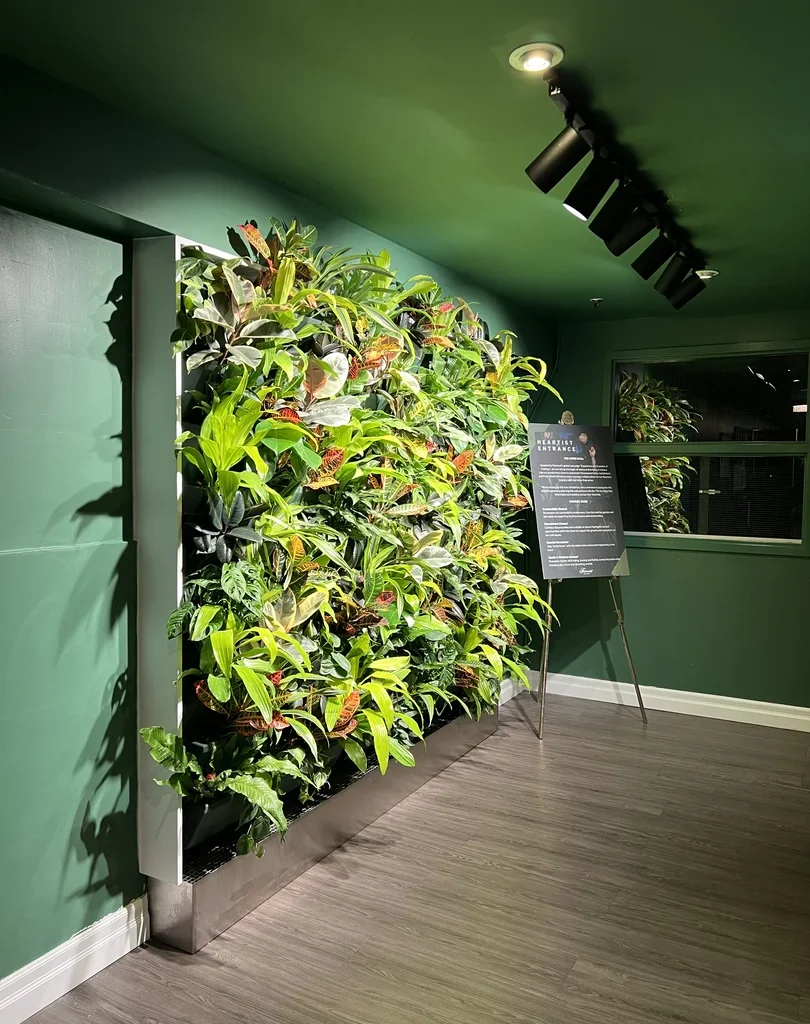
Step 8: Add Lighting (If Needed)
If your green wall is in a dim area, add full-spectrum LED grow lights. Place them above the wall or use adjustable spotlights to mimic natural sunlight.
Design Ideas for Inspiration
- Kitchen Herb Wall: Keep fresh basil, thyme, and mint within arm’s reach.
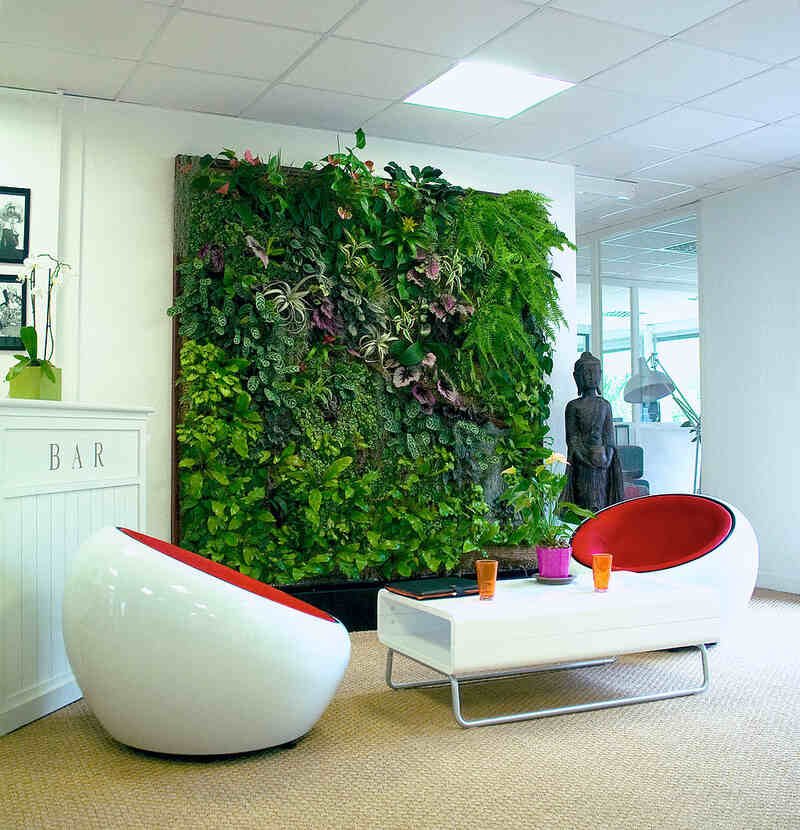
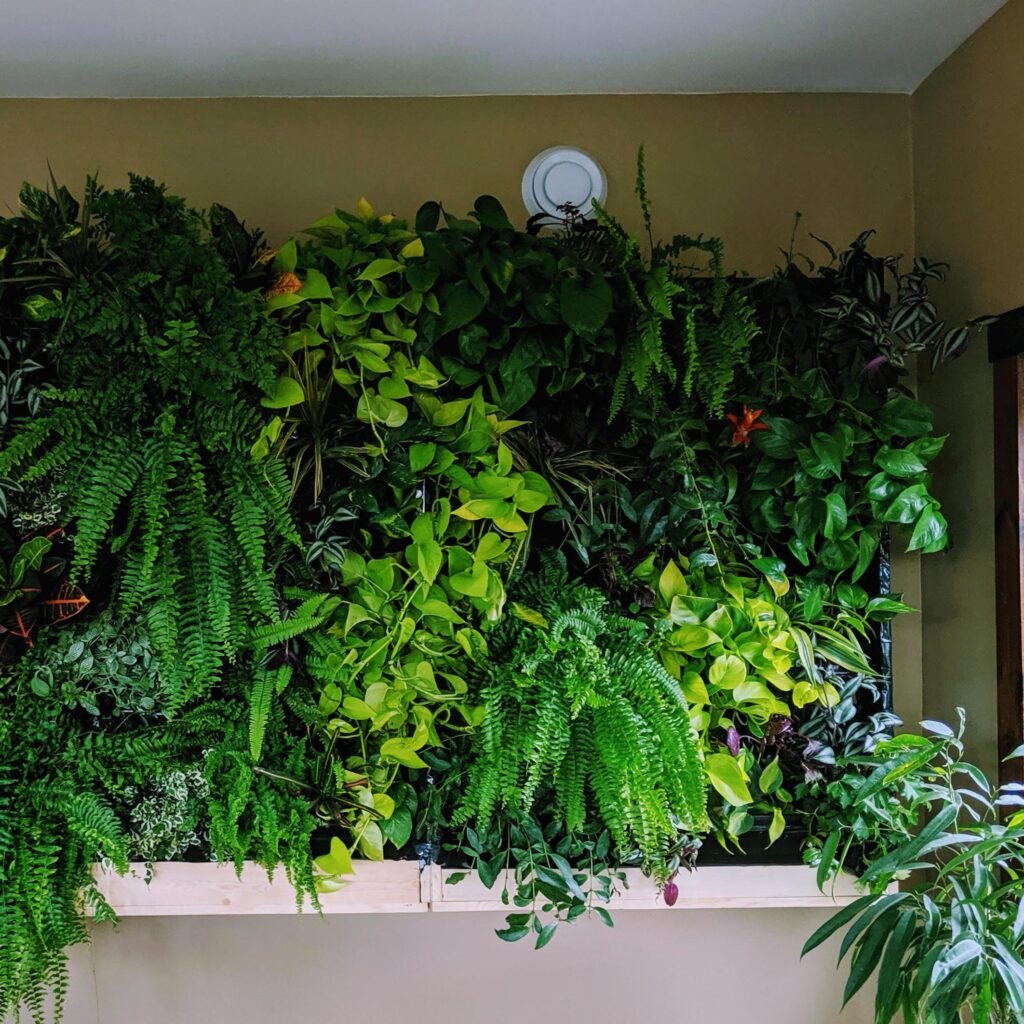
- Living Room Statement Wall: Combine ferns, philodendrons, and peace lilies for a lush, jungle look.
- Small-Space Vertical Shelf: Use wall-mounted racks with trailing plants for apartments.
- Framed Green Art: Create a plant “painting” using succulents or moss for a modern vibe.
Benefits of an Indoor Green Wall
- Aesthetic Appeal: Turns a blank wall into living art.
- Health Benefits: Improves indoor air quality and reduces stress.
- Space Saving: Maximizes vertical space in small apartments.
- Eco-Friendly: Adds natural insulation and reduces noise.
Final Thoughts
A DIY green wall is more than just decoration—it’s a way to bring nature indoors, improve your environment, and enjoy the therapeutic benefits of gardening without needing a large yard.

With the right location, plants, and care system, you can transform any wall into a lush oasis. Whether you opt for a simple pocket planter in the kitchen or a dramatic floor-to-ceiling installation, the project offers a rewarding blend of creativity and functionality.
So roll up your sleeves, gather your materials, and get ready to build a living wall that brings life, beauty, and a touch of the outdoors into your home.
Leave A Comment