Have you ever eaten a sweet, juicy papaya and wondered if you could grow one just like it at home? The good news is — you absolutely can! All it takes is a single ripe papaya, a few seeds, and a bit of patience.
Inspired by the viral YouTube video “How I Grew Papaya at Home from a Ripe Fruit,” many home gardeners have discovered just how easy and rewarding it is to grow papaya trees in their backyards, balconies, or even large pots.
In this guide, we’ll walk you through the entire process step-by-step — from extracting seeds to harvesting your very own papayas. You don’t need fancy tools or professional experience; this method works beautifully for beginners and small-space gardeners alike.
Let’s turn that leftover papaya from your kitchen into a thriving fruit-bearing plant!
Why Grow Papaya at Home?
Papaya (Carica papaya) is a tropical fruit known for its sweet flavor, vibrant color, and countless health benefits. It’s rich in vitamin C, enzymes, and antioxidants — perfect for digestion and immunity.
But beyond nutrition, growing papaya at home offers several advantages:
Fast-growing: Papaya plants can produce fruit within 8–10 months of planting.
Low maintenance: They thrive with minimal care in sunny spots.
Compact and productive: Even one tree can yield dozens of fruits annually.
Beautiful addition: Its lush green leaves and tall trunk add a tropical vibe to your garden.
And the best part? You can start your papaya journey with seeds from a fruit you already have at home.
Step 1: Choosing the Right Ripe Papaya
The process begins with the right fruit. Choose a fully ripe, healthy papaya that’s soft to touch and has a deep orange-yellow color.
Tips for selecting the perfect papaya:
- Avoid overripe or bruised ones.
- Choose from a local or hybrid variety that grows well in your region.
- For container growing, smaller or “dwarf papaya” types work best.
Once you’ve eaten your delicious papaya, save those precious seeds — they’re the foundation of your new tree.

Step 2: Collecting and Cleaning the Seeds
Papaya seeds are small, round, and black with a jelly-like coating. This outer layer prevents germination, so it’s important to remove it before planting.
Here’s how to prepare the seeds:
- Scoop out the seeds from the ripe papaya.
- Place them in a bowl of water and rub gently with your fingers to remove the gelatinous covering.
- Rinse thoroughly 2–3 times.
- Spread the clean seeds on a paper towel and dry them in shade for 2–3 days.
Avoid drying under direct sunlight — it can damage seed viability.
You can store these dried seeds in a paper envelope for up to 6 months or plant them immediately for best results.
Step 3: Germinating Papaya Seeds
Before planting, it’s helpful to pre-germinate the seeds to ensure faster sprouting.
Easy germination method:
- Take 10–15 dried seeds and wrap them in a damp paper towel or cotton cloth.
- Place the wrapped seeds in a zip-lock bag or airtight container.
- Keep them in a warm, dark place (around 25–30°C).
- Check after 7–10 days — small white sprouts will start to appear.
This method ensures you only plant the seeds that are actually viable, saving time and space.
Step 4: Preparing the Soil and Container
Papayas prefer light, well-draining soil rich in organic matter. Heavy clay soil can cause waterlogging, leading to root rot.
Best soil mix recipe:
- 40% garden soil
- 30% compost or well-rotted cow dung
- 20% sand or perlite (for aeration)
- 10% coco peat (for moisture retention)
Mix these well and fill a large container or grow bag.
Container requirements:

- Minimum 20–25 liters capacity
- Depth: At least 18–24 inches
- Drainage holes: Essential to prevent excess moisture buildup
If you have ground space, you can plant directly in soil — just ensure it’s a sunny, open spot.
Step 5: Planting the Sprouted Seeds
Once your seeds have sprouted, it’s time to plant them.
Planting steps:
- Make small holes about ½ inch deep in the soil.
- Place one sprouted seed per hole (you can plant 3–4 per container to start).
- Cover lightly with soil and water gently.
Keep the soil moist but not soggy. Germination typically takes 2–3 weeks, and you’ll see small seedlings emerging.
When they grow 6–8 inches tall, select the healthiest and most vigorous seedling and carefully remove the others.
Step 6: Ideal Sunlight and Temperature
Papayas are sun-loving tropical plants that need plenty of light to thrive.
Sunlight: At least 6–8 hours of direct sunlight daily.
Temperature: Ideal range is 25–35°C.
Keep your container or garden bed in a warm, open area. During cooler months, move the pot indoors near a sunny window or use a transparent cover to trap warmth.
Step 7: Watering and Moisture Management
Papayas love moisture but dislike waterlogging.
Watering tips:
- Water every 2–3 days or when the topsoil feels dry.
- Ensure good drainage in containers.
- Avoid splashing water on leaves — it can invite fungal infections.
- During hot summers, increase frequency slightly.
Mulching the surface with straw or dry leaves helps retain soil moisture naturally.

Step 8: Fertilizing for Healthy Growth
Papayas grow rapidly and need regular feeding to stay healthy.
Fertilizer schedule:
- At planting: Mix compost and bone meal into the soil.
- After 1 month: Add organic compost or vermicompost.
- During flowering and fruiting: Feed every 15–20 days with liquid compost tea or banana peel fertilizer.
Tip: Avoid too much nitrogen; it encourages leafy growth but delays fruiting. Instead, focus on potassium and phosphorus for flower and fruit development.
Step 9: Transplanting (If Necessary)
If you started your papaya in a small pot or seed tray, transplant it once it reaches 8–10 inches in height.
Transplanting steps:
- Choose a new pot (at least 25 liters capacity).
- Fill with fresh, nutrient-rich soil mix.
- Carefully remove the plant without damaging roots.
- Replant it at the same depth as before and water thoroughly.
Papayas do not like root disturbance, so handle them gently during transplanting.
Step 10: Pollination — Ensuring Fruit Formation
Papayas can have male, female, or bisexual flowers.
- Male plants: Only produce pollen.
- Female plants: Need pollen to produce fruit.
- Bisexual plants: Contain both organs and can self-pollinate.
If you grow from seeds, you may get a mix. To ensure fruiting, it’s best to grow at least 3 plants together and later keep only the ones that bear female or bisexual flowers.
Hand-pollination tip:
If natural pollination is low, gently transfer pollen from male to female flowers using a soft brush in the morning.
Step 11: Common Problems and Natural Solutions
Even healthy papaya plants can face challenges.
1. Yellow Leaves:

- Usually caused by overwatering or poor drainage.
- Solution: Improve drainage, reduce watering, and add compost.
2. Fungal Infections:
- Appear as white powdery spots or leaf wilting.
- Solution: Spray neem oil (1 tbsp per liter of water) every 10 days.
3. Pests (aphids, mealybugs):
- Spray with neem oil or soapy water solution.
- Keep plants well-ventilated.
4. No Fruits:
- Often due to absence of male flowers or pollination failure.
- Solution: Ensure male-female flower ratio or hand-pollinate.
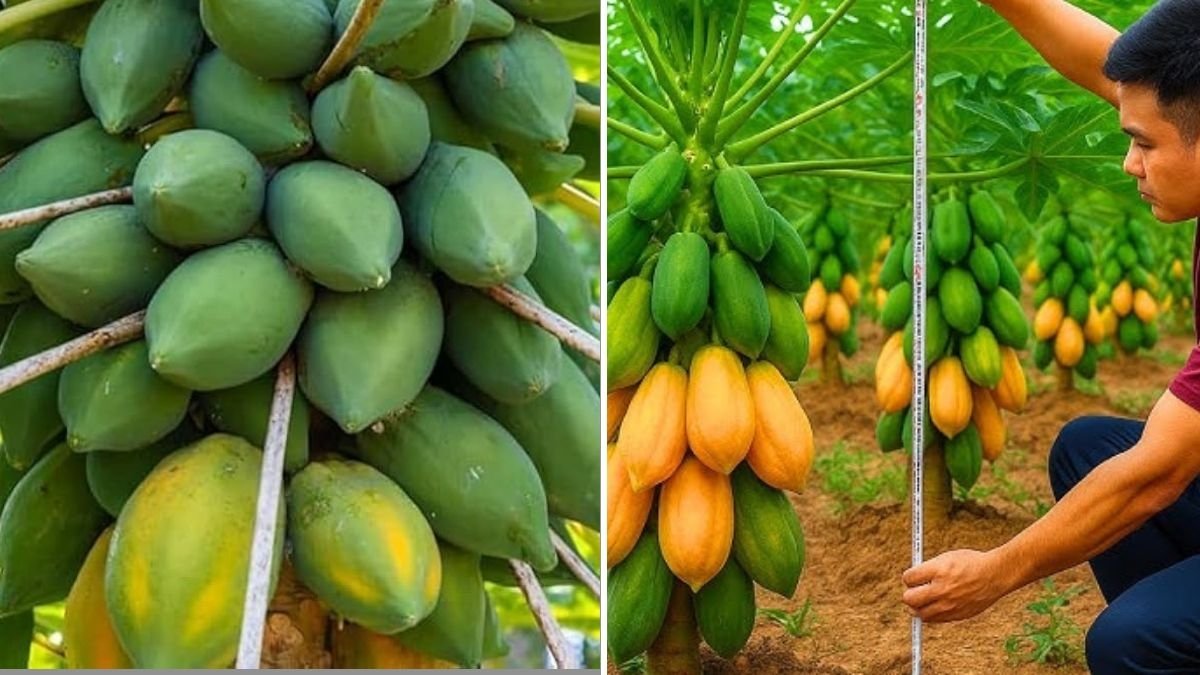
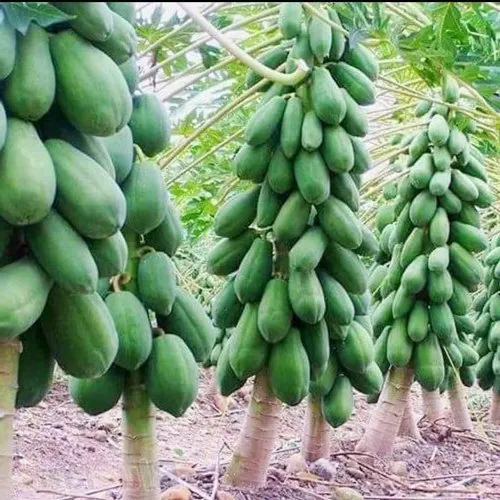
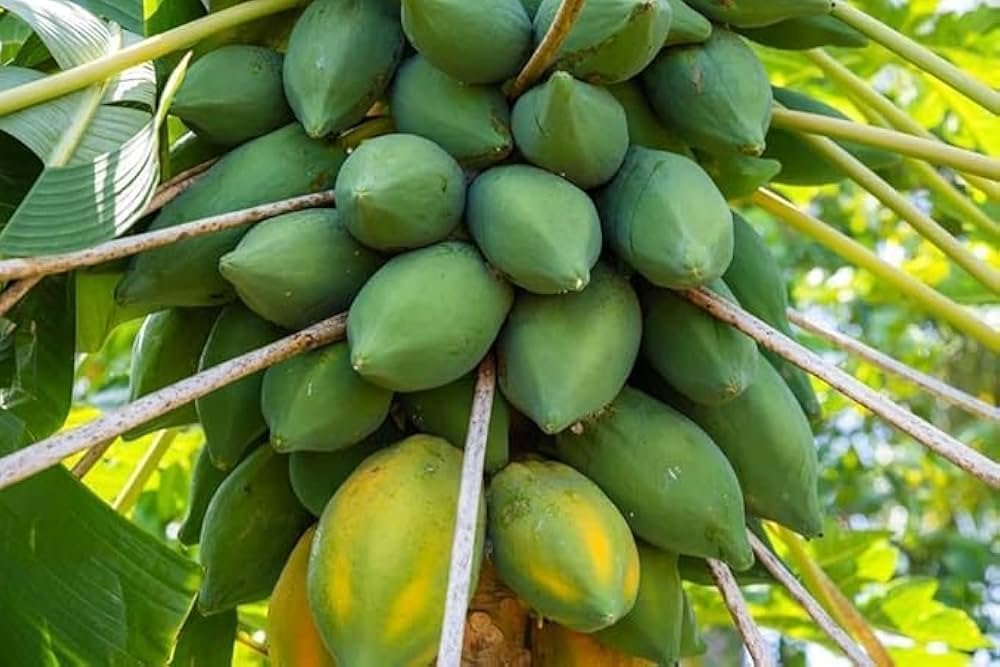
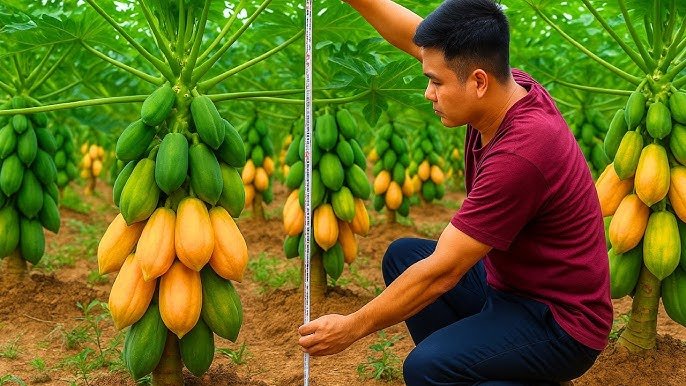
Step 12: When and How to Harvest Papayas
Within 8–10 months, your papaya tree will start to bear fruits.
Signs your papaya is ready to harvest:
- The skin color changes from dark green to yellow-orange.
- The fruit feels slightly soft to touch.
- A sweet aroma develops near the stem area.
Use a sharp knife to cut the fruit with a short stem attached. Handle gently to avoid bruising.
After harvesting, allow the fruit to ripen fully at room temperature for 2–3 days before enjoying its sweet flavor.
Step 13: Growing Papayas Year-Round

Papayas can be grown in any season if you provide the right environment:
Summer: Perfect for natural sunlight and quick growth.
Monsoon: Protect roots from excess rainwater.
Winter: Use plastic covers or move pots indoors.
For a continuous harvest, plant new seeds every 4–6 months. Papaya plants remain productive for 2–3 years before gradually declining.
Step 14: Benefits of Homegrown Papayas
Homegrown papayas are fresher, cleaner, and far more flavorful than store-bought ones.

Top benefits:
No pesticides or chemicals.
Zero waste — reuse seeds and compost.
Beautiful greenery in your space.
Continuous supply of nutritious fruit.
Sense of achievement and relaxation from gardening.
Plus, papaya leaves and seeds can be used for natural remedies, composting, and skincare.
Step 15: Final Tips for Success
Grow at least 3–4 plants to ensure pollination.
Keep consistent moisture but never waterlog.
Ensure full sun exposure daily.
Add organic fertilizer regularly.
Prune lower leaves to maintain airflow.
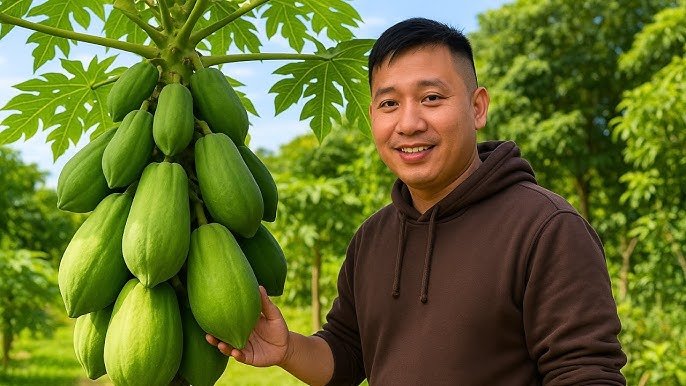
With these steps, your small seed will soon become a tall, fruit-bearing beauty — rewarding you with fresh, sweet papayas straight from your home garden!
Conclusion: Your Own Papaya Paradise
Growing papaya from a ripe fruit is one of the most satisfying home gardening experiences. It’s fast, easy, and requires minimal effort — yet gives you abundant, delicious results.
By following the method from “How I Grew Papaya at Home from a Ripe Fruit,” you’ll not only enjoy organic, homegrown papayas but also experience the joy of turning kitchen waste into life.
So next time you enjoy a ripe papaya, don’t throw those seeds away — plant them! In a few months, you could be harvesting your very own tropical fruit, right from your balcony or backyard.
Your garden, your fruit, your reward — nature’s sweetest gift to your home.
Leave A Comment