
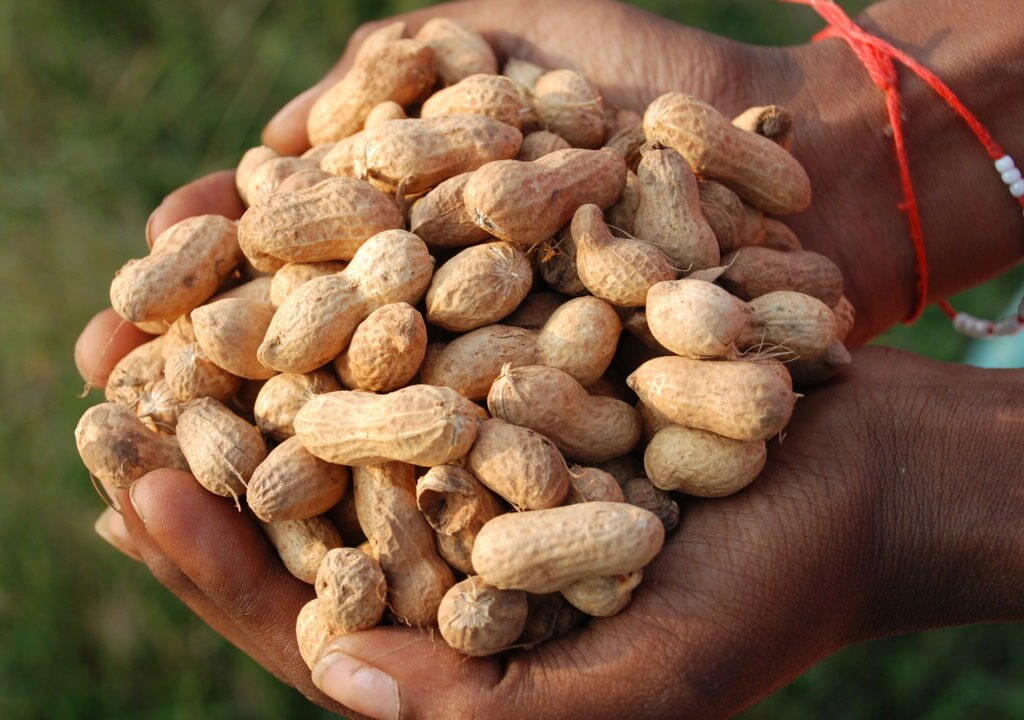
Imagine biting into a fresh, crunchy peanut that you grew yourself — no store-bought nuts, no pesticides, just pure, homegrown goodness. Growing peanuts at home might sound complicated, but it’s surprisingly simple, fun, and rewarding, even for beginners.
Peanuts, also known as groundnuts, are native to South America but are now widely cultivated across the world, including in American home gardens. They’re nutrient-rich, versatile, and an incredible addition to your homegrown pantry.
This guide will walk you step-by-step through growing peanuts at home, from planting seeds to harvesting and storing them. Whether you have a small backyard, balcony, or even just a sunny windowsill, you can enjoy fresh, organic peanuts in a few months.
1. Why Grow Peanuts at Home?
Peanuts are not just delicious; they’re also incredibly beneficial for your health and your wallet. Here’s why growing them at home is worth it:
Benefits of Homegrown Peanuts:
- Fresh and Organic: Control the soil and avoid harmful pesticides.
- Nutritious: Rich in protein, healthy fats, and antioxidants.
- Cost-Effective: Save money compared to store-bought nuts.
- Educational: Fun project for kids and gardening beginners.
- Sustainable: Growing your own reduces food waste and packaging.
Homegrown peanuts are perfect for snacking, peanut butter, or even roasting at home, making them a versatile crop for every household.

2. Choosing the Right Peanut Variety
Not all peanuts are ideal for home growing. For beginners, small and fast-maturing varieties work best, especially if you’re growing in containers or limited spaces.
Popular Peanut Varieties for Home Gardening:
- Virginia: Large nuts, excellent for roasting.
- Spanish: Smaller, flavorful nuts; great for snacking and baking.
- Valencia: Sweet taste; produces multiple nuts per pod.
- Runner: Perfect for peanut butter and consistent yields.
Pro Tip: Choose seeds labeled as raw peanut seeds, not roasted, salted, or processed nuts, because only raw seeds can germinate.
3. Materials You’ll Need to Grow Peanuts
Growing peanuts at home doesn’t require fancy tools. Here’s what you’ll need:
Basic Supplies:
- Raw peanut seeds (with shells intact)
- Deep containers or pots (10–12 inches minimum depth)
- Potting soil or garden soil mixed with compost
- Sunny spot or grow lights
- Watering can or spray bottle
- Fertilizer (organic compost, bone meal, or slow-release fertilizer)
Optional: Mulch to retain moisture and protect young seedlings.
4. Preparing the Soil
Peanuts are legumes, which means they fix nitrogen in the soil, but they still need well-draining, loose soil to develop healthy pods underground.

Ideal Soil Mix for Peanuts:
- 50% potting soil
- 30% organic compost
- 20% sand or perlite for drainage
Soil pH: 6.0–6.5 (slightly acidic to neutral)
Tip: Avoid heavy clay soils, as they can stunt pod development and increase the risk of rot.
5. Planting Peanuts Step-by-Step
Planting peanuts is simple, but timing and spacing are crucial.
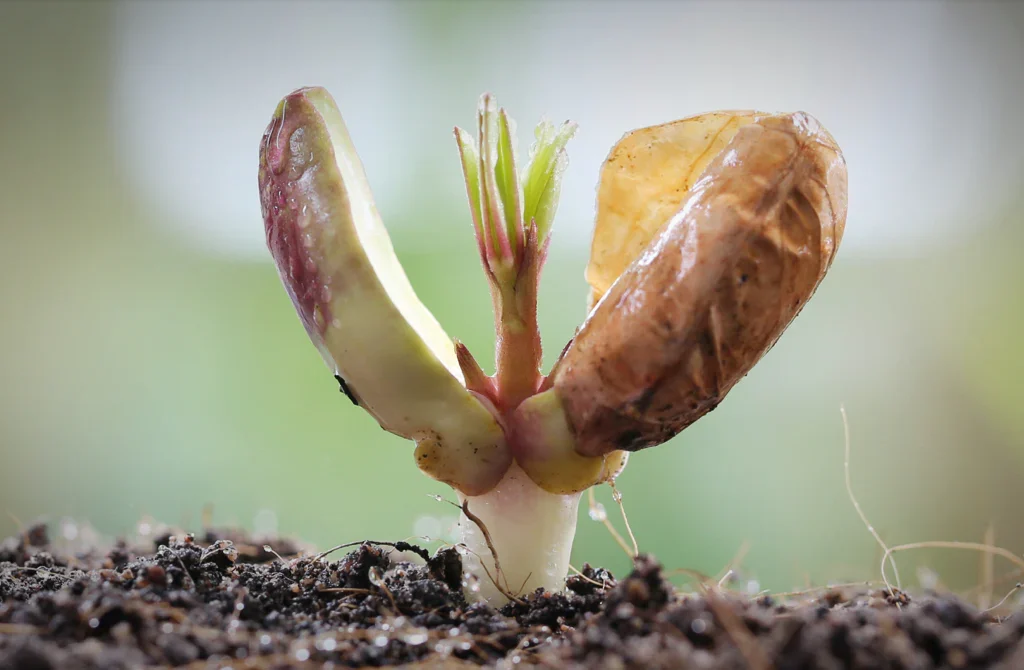
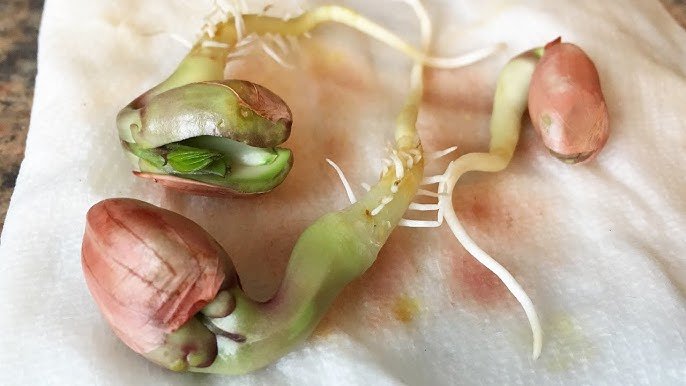
Step 1: Prepare the Seeds
- Remove peanuts from their shells carefully (leave the seed coat on if possible).
- Optional: Soak seeds in water for 4–6 hours to speed up germination.
Step 2: Fill Containers with Soil
- Fill pots about 2–3 inches below the rim.
- Moisten soil lightly before planting.
Step 3: Plant the Seeds
- Place seeds 2 inches deep, with the pointed end facing downward.
- Space seeds 4–6 inches apart if planting multiple peanuts in one pot.
- Cover lightly with soil and water gently.
Step 4: Find a Sunny Spot
Peanuts love sunlight — aim for 6–8 hours of direct sun per day.
If indoors, place pots near a bright window or use LED grow lights for 12–14 hours daily.
6. Watering and Care
Peanuts need consistent moisture, but overwatering can cause rot, especially in containers.

Watering Tips:
- Keep the soil evenly moist during germination and early growth.
- Reduce watering slightly once plants are mature to prevent fungal issues.
- Water in the morning to allow soil to dry slightly before evening.
Fertilizing Peanuts:
- At planting: Mix compost or bone meal into the soil.
- Mid-growth: Add a balanced organic fertilizer for healthy leaves and flowers.
- Avoid excessive nitrogen — peanuts fix their own nitrogen and too much can reduce pod production.
7. Flowering and Pegging: Understanding Peanut Growth
Peanuts have a unique growth cycle:
Flowering Stage:
- After 30–40 days, yellow flowers appear above ground.
- Flowers are self-pollinating, so you don’t need insects.
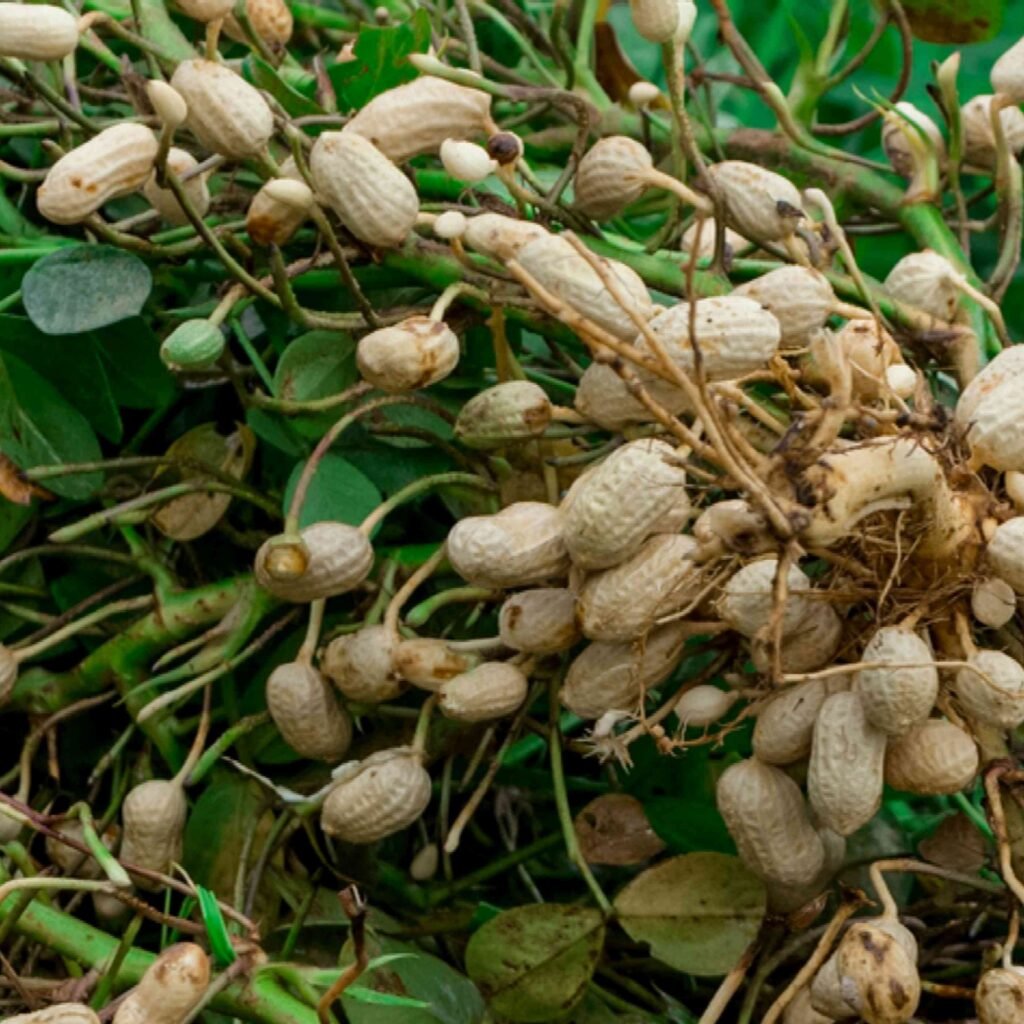
Peg Formation (Underground Pod Development):
- Fertilized flowers form pegs, which grow downward into the soil.
- The pods develop underground — a key difference from other nuts or vegetables.
- Keep the soil loose so pegs can penetrate easily.
Tip: Mulching helps protect pegs and pods from drying out or pests.
8. Common Problems and How to Prevent Them
Even in home containers, peanuts may face some challenges.
| Problem | Cause | Solution |
|---|---|---|
| Yellowing leaves | Overwatering or nutrient deficiency | Reduce water; add compost tea |
| Stunted growth | Poor sunlight | Move to sunnier location or use grow lights |
| Fungal disease | Overly wet soil | Improve drainage; avoid overhead watering |
| Pests | Aphids, mites | Use neem oil or insecticidal soap |
9. Harvesting Peanuts
Patience is key — peanuts take 90–120 days to mature. Signs they are ready:
- Leaves turn yellow and start to wilt
- Pods are fully formed underground
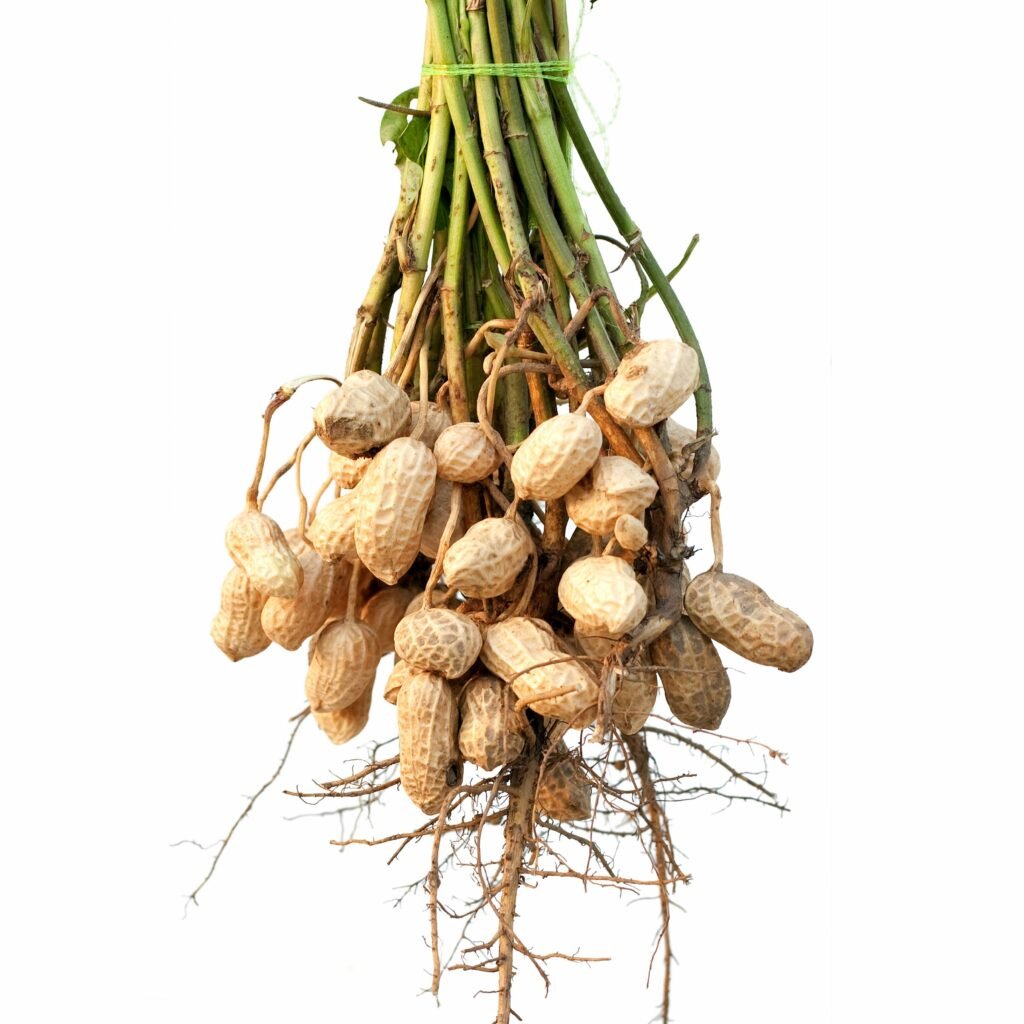
How to Harvest:
- Gently loosen soil around the plant.
- Carefully lift the entire plant, keeping pods intact.
- Shake off excess soil and let the plant dry in a warm, airy place for 2–3 weeks.
Freshly harvested peanuts can then be roasted, boiled, or stored for future use.

10. Storage and Usage
- Roasting: Spread peanuts on a baking sheet and roast at 350°F for 15–20 minutes.
- Boiling: Boil peanuts in salted water for a soft, savory snack.
- Storage: Store dried peanuts in airtight containers in a cool, dark place.
Growing your own ensures chemical-free, fresh, and flavorful peanuts ready to enjoy anytime.
11. Growing Peanuts in Containers: Extra Tips for Beginners
- Use deep pots for better pod development.
- Rotate containers occasionally for even sunlight.
- Thin seedlings if overcrowded to ensure larger pods.
- Consider growing multiple containers for continuous harvests.
12. Fun Fact: Peanuts Are Legumes, Not Nuts!
Many people assume peanuts are nuts, but they’re actually legumes, related to beans and lentils. This makes them protein-packed and soil-friendly, as they naturally fix nitrogen, improving soil fertility for future crops.
Growing peanuts at home not only gives you delicious nuts but also enhances the health of your garden soil for other plants.
13. Conclusion: Homegrown Peanuts Made Simple
Growing peanuts at home is a brilliant, beginner-friendly gardening project. With just a few plastic containers, soil, and peanut seeds, you can enjoy fresh, organic peanuts in just a few months.
This method is perfect for urban gardeners, balcony growers, or anyone looking to try something new and rewarding. Whether you roast them, boil them, or make peanut butter, homegrown peanuts add a unique flavor and pride to your kitchen.

So grab some raw peanut seeds, prepare your containers, and start growing — your fresh, crunchy, and nutritious peanut harvest awaits!
Leave A Comment